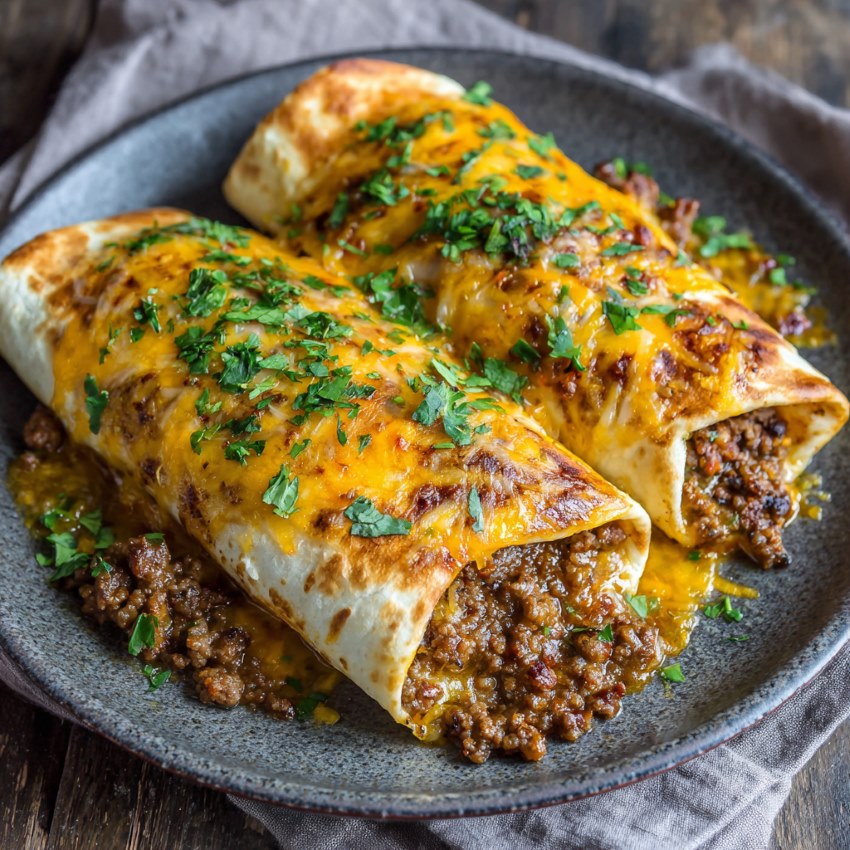
Back when I used to help in the school cafeteria during our monthly cultural food days, I remember this one lively afternoon when a student’s grandmother brought in a tray of homemade taco wraps. They were warm, cheesy, a little spicy, and smelled like something cooked with both care and bold flavor.
She called them her “Mexican melts,” though the kids quickly renamed them “cheesy tacos.” Years later, I still think about how fast those trays disappeared, and how the room fell quiet except for the crunching of tortillas and happy chewing. That same spirit of comfort and flavor stayed with me.
Now, every time I make a batch of Beef Meximelt Cheesy Tacos in my kitchen, I picture that long line of hungry kids, the buzz of folding chairs, and the bright sunlight bouncing off the linoleum floor. The filling is simple, seasoned ground beef, melted cheese, and a touch of salsa, all tucked into a warm tortilla.
I sometimes add a few extras from the garden: chopped green onions or a sprinkle of homegrown cilantro. It’s the kind of food that doesn’t need to impress—it just needs to be hot, cheesy, and shared.
Short Description
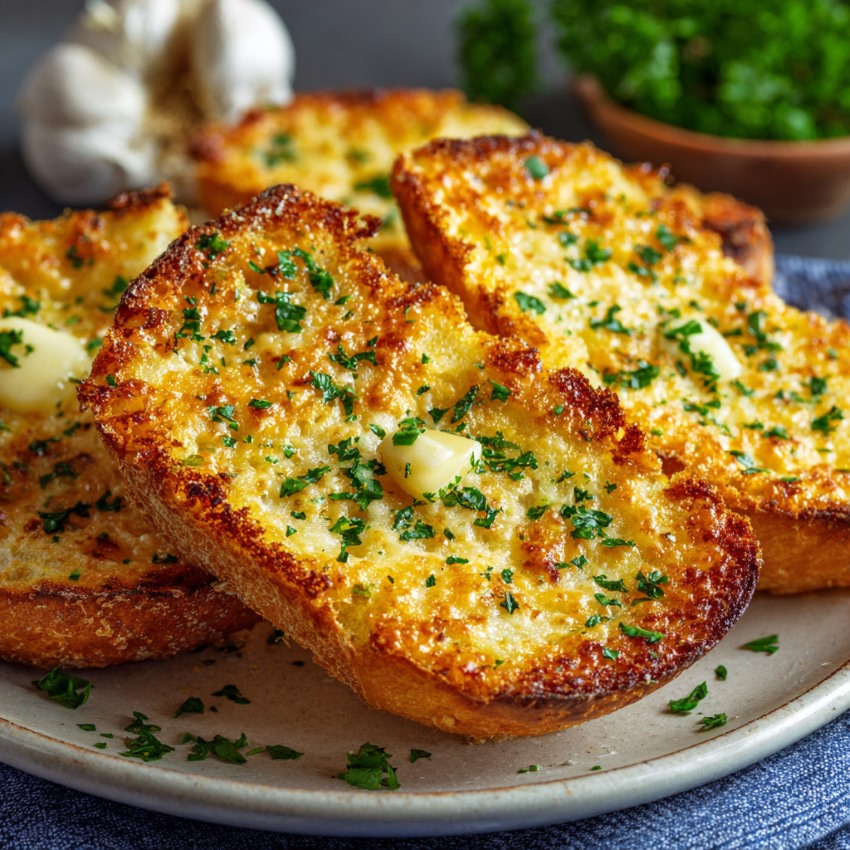
Golden biscuit pockets filled with seasoned ground beef and melted cheese, brushed with garlic-Parmesan butter—ideal for a fun, flavorful snack or appetizer.
Key Ingredients
Filling
- 454 g ground beef
- Salt, pepper, garlic powder, onion powder to taste
- 15 ml Worcestershire sauce
- 120 g shredded cheddar or mozzarella
- Optional: crispy bacon, sliced pickles, caramelized onions
Dough Wrapper
-
1 tube refrigerated biscuit or pizza dough, cut into 8–12 flattened 10 cm rounds
Garlic Parmesan Topping
- 28 g melted butter
- 5 g minced garlic (or 2 g garlic powder)
- 16 g freshly grated Parmesan
- Optional: chopped parsley
Tools Needed
- Large skillet
- Baking sheet lined with parchment
- Pastry brush
- Measuring spoons
- Mixing bowl
Cooking Instructions
Step 1: Cook the Beef
In a skillet over medium heat, brown 454 g ground beef fully. Drain excess fat. Season with salt, pepper, garlic powder, onion powder, and 15 ml Worcestershire sauce. Remove from heat and let cool. Fold in 120 g shredded cheese until evenly coated.
Step 2: Seal the Dough
Flatten each dough round to about 10 cm diameter. Spoon 1–2 tablespoons of the cooled beef-cheese mixture into the center. Carefully gather edges and pinch to seal. Roll into a smooth ball.
Step 3: Prep for Baking
Place balls seam-side down on a parchment-lined baking sheet. In a small bowl, stir together 28 g melted butter, minced garlic, and 16 g Parmesan. Brush mixture generously on each ball and sprinkle extra Parmesan on top.
Step 4: Bake
Preheat oven to 190 °C. Bake for 15–18 minutes, until golden brown and cooked through.
Step 5: Finish & Serve
Brush warm bombs with any leftover garlic butter and garnish with parsley. Serve immediately with dips like ranch, garlic aioli, or spicy mayo.
Why You’ll Love This Recipe
Flavor Explosion: Savory beef, melted cheese, and garlic-Parmesan make every bite rich and satisfying.
Quick & Playful: Under 30 minutes from start to finish—great for feeding hungry crowds.
Handheld Heaven: Easy to eat at gatherings, game nights, or picnics.
Adaptable: Swap cheeses or fillings for allergies or preferences.
Family Favorite: Kids and adults alike love the cheesy surprise inside.
Mistakes to Avoid & Solutions
Greasy Filling: Don’t skip draining the beef or it will leak through the dough.
Tears in Dough: Let filling cool before sealing to avoid splitting.
Pale Tops: Brush with full garlic-butter mixture and add extra Parmesan.
Undercooked Centers: Ensure oven is fully preheated to 190 °C—underbaking leaves dough raw.
Serving and Pairing Suggestions
Serve hot on a platter with small bowls of ranch, salsa, or spicy mayo.
Add a side of fresh pico de gallo or zesty slaw for color and crispness.
Perfect for potlucks, casual brunch buffets, or playground playdates—serve family-style on large boards.
Storage and Reheating Tips
To Store: Cool completely, then refrigerate in airtight container for up to 3 days.
To Reheat: Warm in oven at 180 °C for 8–10 minutes, or use toaster oven to keep crust crisp. Microwaving softens the dough.
To Freeze: Freeze baked bombs in a single layer. Reheat in oven straight from frozen, adding a few minutes to baking time.
FAQs
1. Can I use homemade biscuit dough?
Yes! It adds extra flavor, just shape into 10 cm rounds before filling.
2. Are they freezer-friendly?
Absolutely. Freeze after baking; reheat in oven for best texture.
3. What’s the best dip?
Ranch and spicy mayo are popular, but try avocado crema or salsa verde for freshness.
4. Can I make them ahead?
Yes, prepare sealed bombs and refrigerate. Brush with garlic butter and bake when needed.
5. How do I make them gluten-free?
Use gluten-free biscuit or pizza dough, be careful when sealing, as gf dough tears more easily.
Tips & Tricks
Cool beef filling slightly before stuffing to prevent steam from weakening the dough.
Use a little water to moisten the dough edges—it helps seal them tightly.
Sprinkle extra Parmesan just before baking for that golden crust.
Try mixing cheddar and mozzarella for softer, gooey texture.
For crispier bottoms, place bombs on a preheated baking stone or steel.
Recipe Variations
Bacon Ranch Bombs
Fold 50 g cooked bacon and chopped chives into beef filling. Use ranch-flavored dough and top with cheddar instead of Parmesan.
Spicy Mexi Bombs
Add 1 tsp chili powder and a dash of cayenne to beef. Fold in pepper jack cheese and top with cilantro.
Vegetarian Version
Replace beef with seasoned black beans and corn. Add taco seasoning and use plant-based cheese. Bake as directed.
Final Thoughts
When I make these now, I usually wrap a few extras and drop them off at our neighborhood center, where the smell always brings someone into the kitchen asking what’s cooking.
It’s a quiet joy, seeing the familiar smiles these little tacos bring. Some recipes stay with us not because they’re fancy, but because they always, without fail, bring people together.
Beef Meximelt Cheesy Taco
Print ThisIngredients
- Filling
- 454 g ground beef
- Salt, pepper, garlic powder, onion powder to taste
- 15 ml Worcestershire sauce
- 120 g shredded cheddar or mozzarella
- Optional: crispy bacon, sliced pickles, caramelized onions
- Dough Wrapper
- 1 tube refrigerated biscuit or pizza dough, cut into 8–12 flattened 10 cm rounds
- Garlic Parmesan Topping
- 28 g melted butter
- 5 g minced garlic (or 2 g garlic powder)
- 16 g freshly grated Parmesan
- Optional: chopped parsley
Instructions
Step 1: Cook the Beef
Brown 454 g ground beef in a skillet over medium heat. Drain fat, season with salt, pepper, garlic powder, onion powder, and 15 ml Worcestershire sauce. Let cool, then mix in 120 g shredded cheese.
Step 2: Fill & Seal
Flatten dough rounds to 10 cm. Add 1–2 tbsp beef mixture to center, pinch edges to seal, and roll into balls.
Step 3: Prep for Baking
Place balls seam-side down on a lined baking sheet. Mix 28 g melted butter, minced garlic, and 16 g Parmesan. Brush on tops, then sprinkle with extra Parmesan.
Step 4: Bake
Bake at 190 °C for 15–18 minutes, until golden.
Step 5: Serve
Brush with leftover garlic butter, garnish with parsley, and serve warm with your favorite dips.