When my young grandson was six, he called meatloaf “meat muffins” because I always made them in a muffin tin just for him. The name stuck. Back then, I was freshly retired from 30 years of teaching, easing into slower mornings and afternoons filled with flour-dusted aprons and humming to old jazz records while stirring sauce.
One rainy afternoon, I was tinkering in the kitchen with what I had on hand—some ground chicken, leftover Parmesan, a splash of milk, and garlic. That’s how this recipe was born, purely by instinct, with my little helper standing on a stool, measuring breadcrumbs with the precision of a math whiz.
Since then, these Garlic Parmesan Meatloaves have become a staple in our home. They’re comforting without being heavy, flavorful but not fussy. I’ve shared them at church potlucks, baked them for neighbors recovering from surgery, and even mailed the recipe to a former student who’s now a new mom. To me, they carry more than just flavor—they carry warmth, kindness, and a sense of home. I suppose that’s what keeps me returning to the kitchen day after day—reviving familiar recipes and breathing new life into them.
So if you’re looking for something simple, wholesome, and just the right amount of cheesy, these little meatloaves might be exactly what your weeknight needs.
Short Description
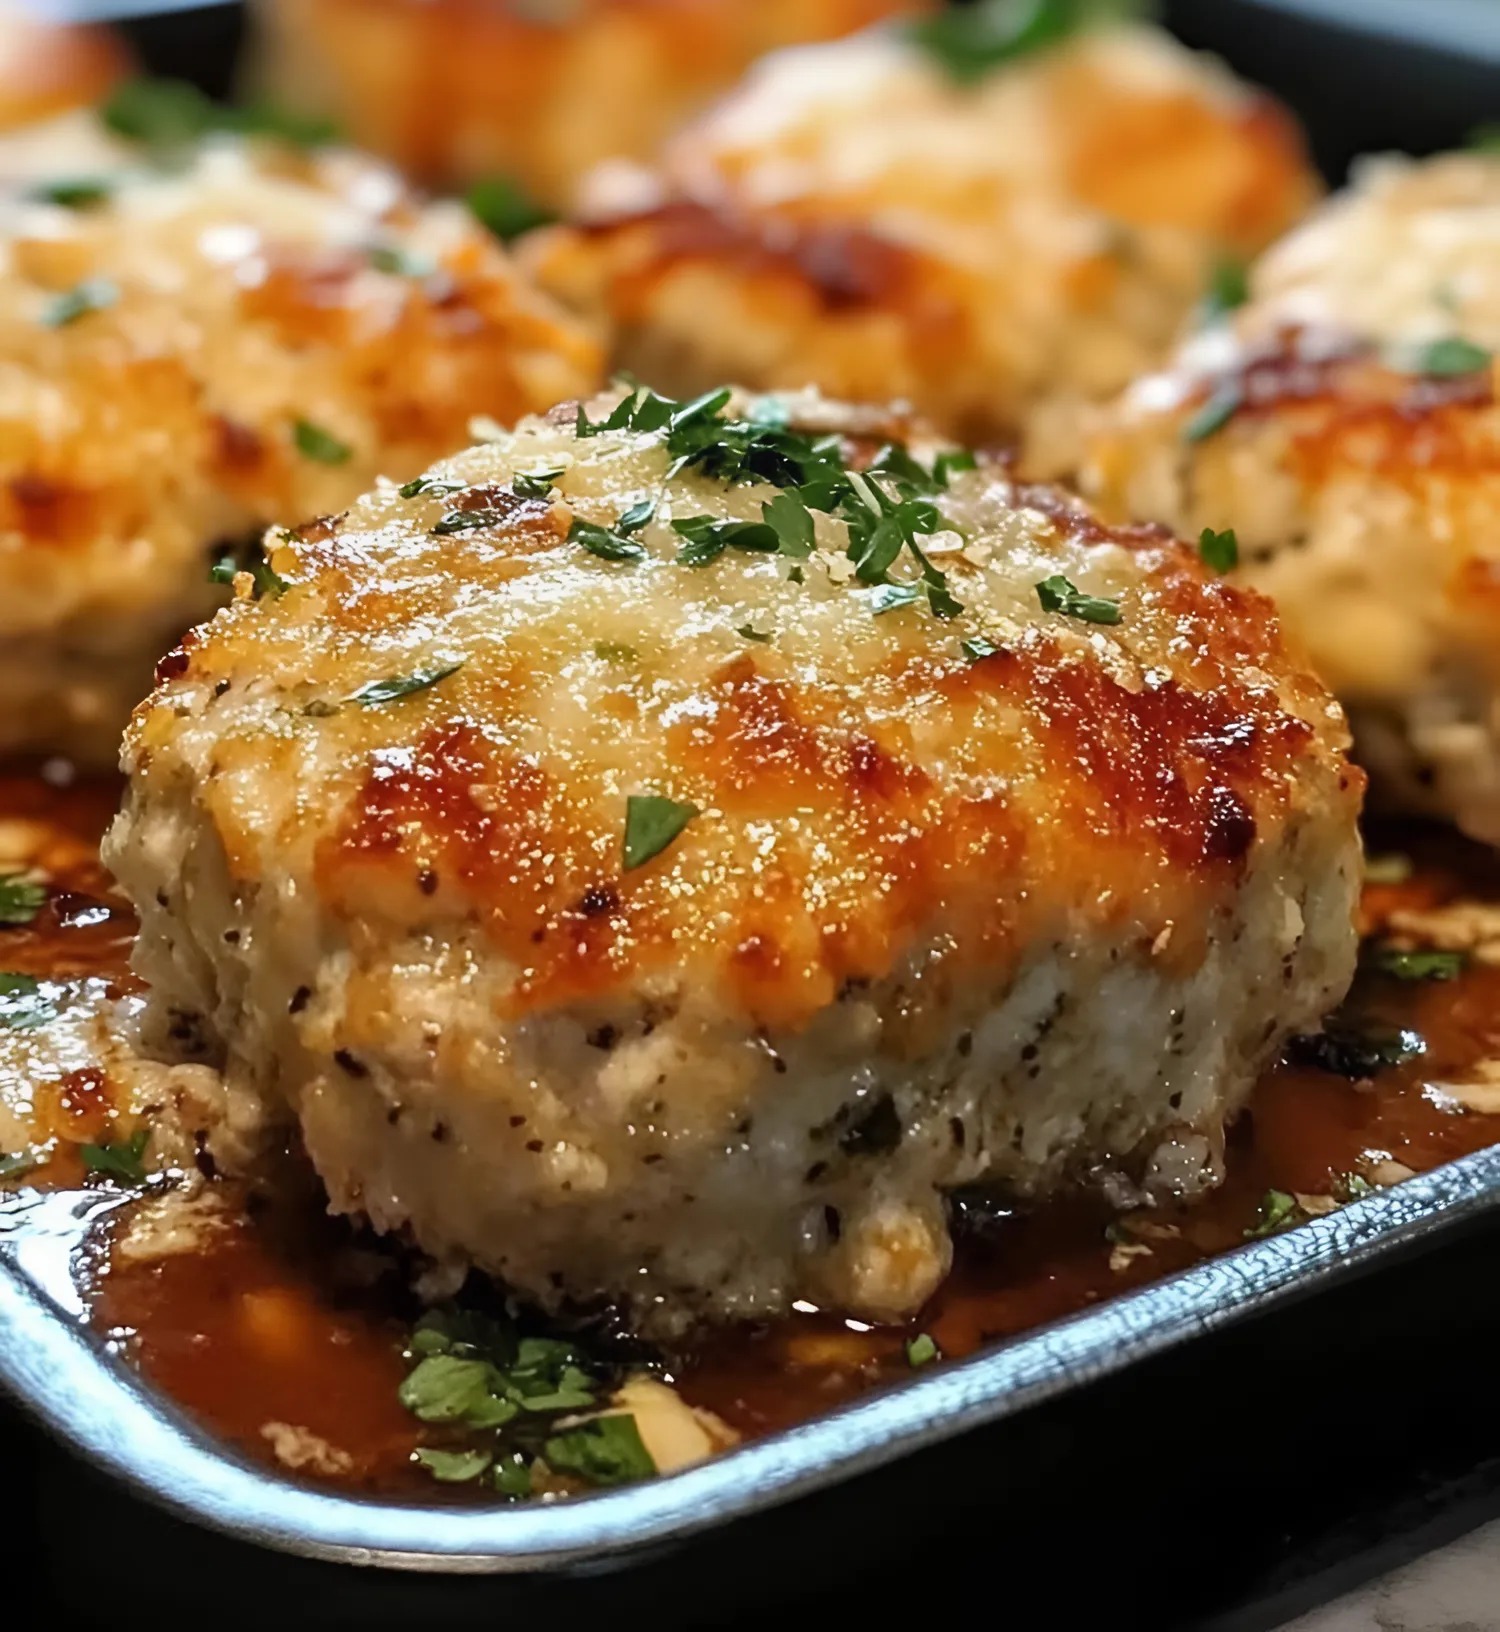
Mini Garlic Parmesan Meatloaves made with ground chicken, Parmesan, herbs, and topped with marinara and mozzarella—easy to bake, deliciously juicy, and perfect for family dinners or meal prep.
Key Ingredients
- 1 pound ground chicken
- ½ cup Parmesan cheese, grated
- ½ cup breadcrumbs
- 2 garlic cloves, minced
- 1 egg
- ¼ cup milk
- 1 tablespoon fresh parsley, chopped
- 1 teaspoon dried oregano
- 1 teaspoon onion powder
- Salt and pepper, to taste
- ¼ cup marinara sauce
- ¼ cup mozzarella cheese, shredded
Tools Needed
- Muffin tin
- Mixing bowl
- Measuring cups and spoons
- Wooden spoon or silicone spatula
- Garlic press (optional)
- Cooking spray or oil for greasing
Cooking Instructions
Step 1: Preheat the Oven
Set your oven to 375°F (190°C). Lightly grease a standard muffin tin with cooking spray or a bit of oil to prevent sticking.
Step 2: Mix the Base Ingredients
In a large bowl, combine the ground chicken, grated Parmesan, and breadcrumbs. Add the minced garlic, egg, and milk. Stir everything together gently with a spoon or your hands.
Step 3: Add Herbs and Seasoning
Mix in chopped parsley, dried oregano, onion powder, salt, and pepper. Be careful not to overwork the mixture—just mix until it holds together. Overmixing can make the meatloaf dense.
Step 4: Fill the Muffin Tin
Divide the mixture evenly into the muffin cups. Gently press each portion down with the back of a spoon to help them hold their shape.
Step 5: First Bake
Place the muffin tin in the oven and bake for 20–25 minutes. The tops should start turning golden, and the edges may pull slightly away from the tin.
Step 6: Add Toppings and Finish Baking
Remove the tin from the oven. Spoon about 1 teaspoon of marinara sauce on top of each mini loaf. Sprinkle shredded mozzarella over the sauce. Return to the oven and bake for an additional 5 minutes, just until the cheese melts and starts to bubble.
Step 7: Rest and Serve
Let the meatloaves sit in the tin for 5 minutes before lifting them out. This helps them set and makes serving easier.
Why You’ll Love This Recipe
Quick & Easy: Minimal prep, bakes in under 30 minutes
Lighter than Beef: Made with lean ground chicken
Kid-Friendly: Fun muffin shape and cheesy topping
Meal Prep Ready: Stores and reheats like a dream
Balanced Flavor: Garlic, Parmesan, and herbs make every bite sing
Mistakes to Avoid & Solutions
1. Overmixing the meat
Problem: Makes the meatloaves tough.
Solution: Mix just until everything is combined—no more than a minute with your hands or a spoon.
2. Dry meatloaf
Problem: Not enough moisture from ingredients.
Solution: Don’t skip the milk or egg—they help keep it juicy. Also, don’t overbake. Remove once internal temp hits 165°F.
3. Sticking to the tin
Problem: Meatloaves hard to remove.
Solution: Grease your muffin tin thoroughly or use silicone liners.
4. Uneven baking
Problem: Some are overcooked while others are raw.
Solution: Make sure each cup has the same amount of mixture—use an ice cream scoop if needed.
5. Bland flavor
Problem: Skipping herbs or not seasoning enough.
Solution: Don’t forget the garlic, parsley, oregano, and onion powder—these small ingredients pack big flavor.
Serving and Pairing Suggestions
These mini meatloaves are perfect served:
With mashed cauliflower or garlic mashed potatoes
Alongside roasted green beans or steamed broccoli
With a crisp side salad and balsamic vinaigrette
On top of spaghetti for a fun twist on classic meatballs
As a meal-prep lunch with brown rice and veggies
Storage and Reheating Tips
Fridge: Store leftovers in an airtight container for up to 4 days.
Freezer: Wrap each meatloaf individually and freeze for up to 2 months.
To Reheat (Oven): Bake at 350°F for 10–12 minutes, covered with foil to keep moisture.
To Reheat (Microwave): Heat on medium power for 1–2 minutes, adding a splash of water or marinara to prevent drying out.
FAQs
1. Can I use ground turkey instead of chicken?
Yes! Ground turkey works well and has a similar texture and flavor.
2. Can I double this recipe for a larger crowd?
Absolutely. Just use two muffin tins or bake in batches. Keep an eye on baking time—it may need a few more minutes.
3. Can I skip the breadcrumbs for a low-carb version?
Yes, substitute with almond flour or crushed pork rinds. The texture will be slightly different, but still delicious.
4. Do I need to use marinara and mozzarella?
Not at all. You can top with ketchup, BBQ sauce, or skip the topping if you prefer a simpler version.
5. How do I know they’re fully cooked?
Use a meat thermometer. The center should reach 165°F. They should be firm and have no pink inside.
Tips & Tricks
Use freshly grated Parmesan for the best flavor and texture.
For extra juicy meatloaves, add 1 tablespoon of olive oil to the mix.
Want crispier tops? Broil for 1–2 minutes after baking.
Use an ice cream scoop for even portions.
Sprinkle a little chopped basil or extra parsley on top before serving for a fresh touch.
Recipe Variations
1. Spicy Italian Twist
Swap oregano for Italian seasoning
Add ¼ tsp red pepper flakes to the mix
Use spicy marinara or arrabbiata sauce
Top with provolone instead of mozzarella
2. Mediterranean Style
Add 2 tbsp chopped sun-dried tomatoes and 1 tbsp crumbled feta
Use fresh oregano and a pinch of cumin
Replace marinara with a yogurt-tahini sauce after baking
3. BBQ Cheddar Version
Replace marinara with BBQ sauce
Use sharp cheddar instead of mozzarella
Add a pinch of smoked paprika to the chicken mix
Final Thoughts
Cooking isn’t just about feeding people—it’s about sharing pieces of yourself, your history, and your care. I hope these Garlic Parmesan Meatloaves bring as much warmth to your table as they have to mine over the years.
They’re hearty but light, savory but gentle. A little cheesy, a little nostalgic, and always made with love. Try them once, and they might just become a part of your own kitchen traditions too.
Garlic Parmesan Meatloaves
Print ThisIngredients
- 1 pound ground chicken
- ½ cup Parmesan cheese, grated
- ½ cup breadcrumbs
- 2 garlic cloves, minced
- 1 egg
- ¼ cup milk
- 1 tablespoon fresh parsley, chopped
- 1 teaspoon dried oregano
- 1 teaspoon onion powder
- Salt and pepper, to taste
- ¼ cup marinara sauce
- ¼ cup mozzarella cheese, shredded
Instructions
Step 1: Preheat the Oven
Set oven to 375°F (190°C). Lightly grease a standard muffin tin.
Step 2: Mix the Base Ingredients
In a large bowl, combine ground chicken, Parmesan, breadcrumbs, garlic, egg, and milk.
Step 3: Add Herbs and Seasoning
Stir in parsley, oregano, onion powder, salt, and pepper. Mix just until combined—don’t overmix.
Step 4: Fill the Muffin Tin
Divide mixture evenly into muffin cups. Press gently to shape.
Step 5: First Bake
Bake for 20–25 minutes, until tops are golden and edges pull slightly away.
Step 6: Add Toppings and Finish Baking
Spoon marinara on each loaf, sprinkle with mozzarella, and bake 5 more minutes until cheese melts and bubbles.
Step 7: Rest and Serve
Let rest in the tin for 5 minutes before serving.