In summer, as soon as the temperatures climb and the sun doesn’t dip until after dinner, we clear a spot in the freezer for one thing — Homemade Ice Cream. No bells, no whistles, just that creamy, dreamy texture we wait all year for.
On a warm Sunday when the power flickered off for just a moment, and I realized I hadn’t restocked the freezer with any store-bought treats. I stood staring at the pantry, calculating what we had on hand, when I remembered an old video I saved — one that used simple ingredients and no fancy churner. It felt like mixing up a little potion — cream, milk powder, sugar, and condensed milk bubbling gently on the stove.
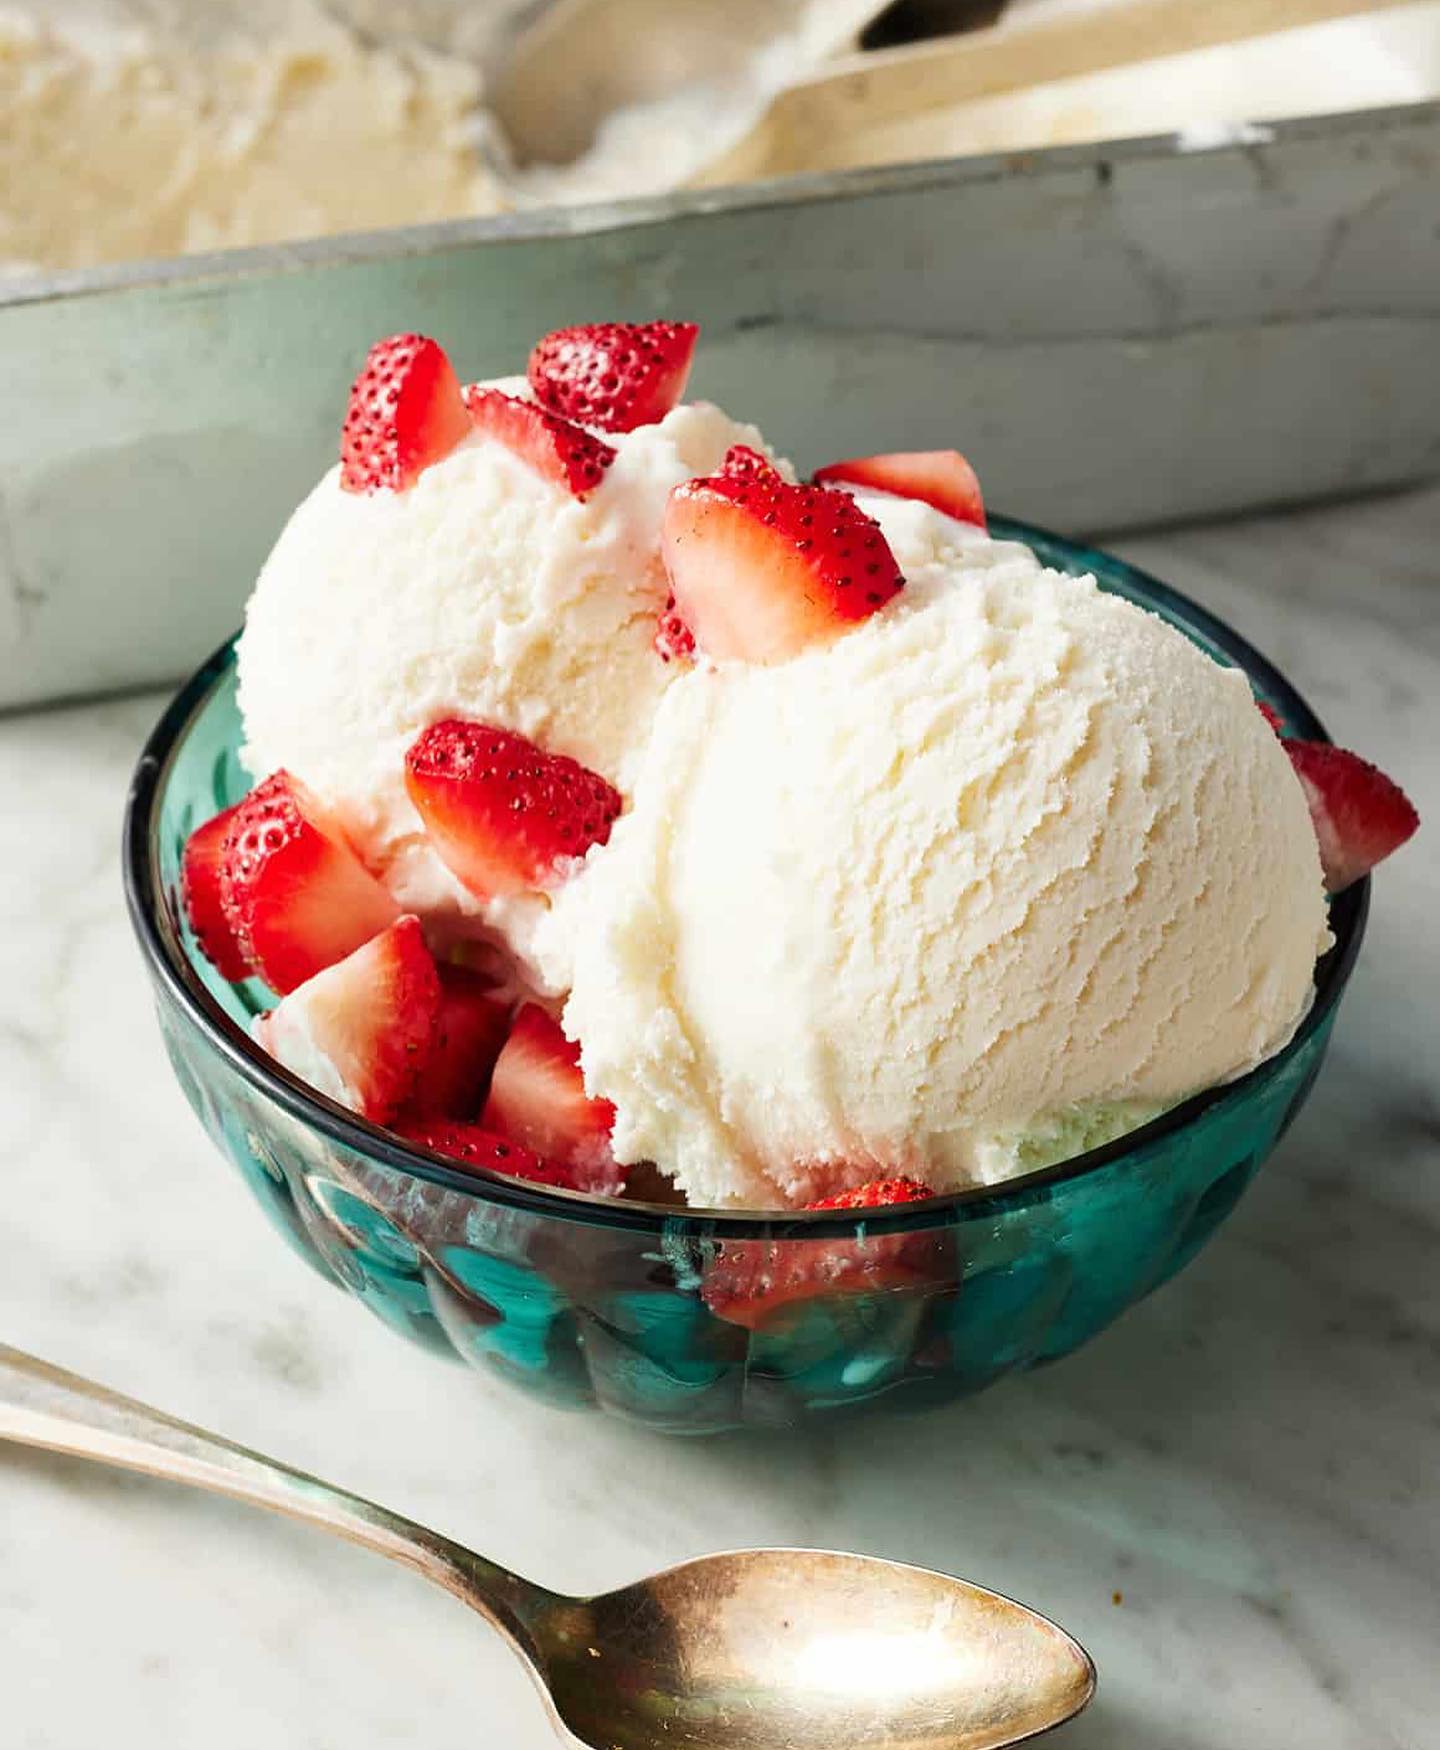
That night, as the sun set and cicadas hummed in the background, we passed around the molds and took that first bite — smooth, subtly sweet, vanilla-kissed. You’d think we were eating gold. These moments, messy counters and all, are why homemade ice cream is our non-negotiable summer staple.
Short Description
This simple homemade ice cream recipe uses pantry staples and doesn’t require an ice cream machine. It’s creamy, subtly sweet, and easy to customize — perfect for summer treats and family fun.
Key Ingredients
- 160g whipping heavy cream
- 200g milk
- 35g milk powder
- 15g sugar
- 10g condensed milk
- 10g cornstarch
- 2g vanilla extract
Tools Needed
- Medium saucepan
- Whisk or silicone spatula
- Ice cream molds or freezer-safe container
- Measuring scale
- Stove
Cooking Instructions
Step 1: Combine Ingredients in a Pot
In a medium-sized pot, combine the whipping cream, milk, milk powder, sugar, and condensed milk. Stir well using a whisk until everything is evenly mixed and smooth.
Step 2: Gently Heat the Mixture
Place the pot on the stove over low heat. Stir continuously to avoid scorching. Let the mixture heat slowly until warm, but do not let it boil. You should see small bubbles forming around the edges.
Step 3: Thicken with Cornstarch
Add the cornstarch to the warm mixture while whisking constantly. Continue cooking and stirring gently for about 5–8 minutes until the mixture thickens. It should coat the back of a spoon — think pudding-like, not runny.
Step 4: Add Vanilla and Cool
Remove the pot from heat. Stir in the vanilla extract. Let the mixture cool to room temperature, stirring occasionally to prevent a skin from forming on top.
Step 5: Freeze
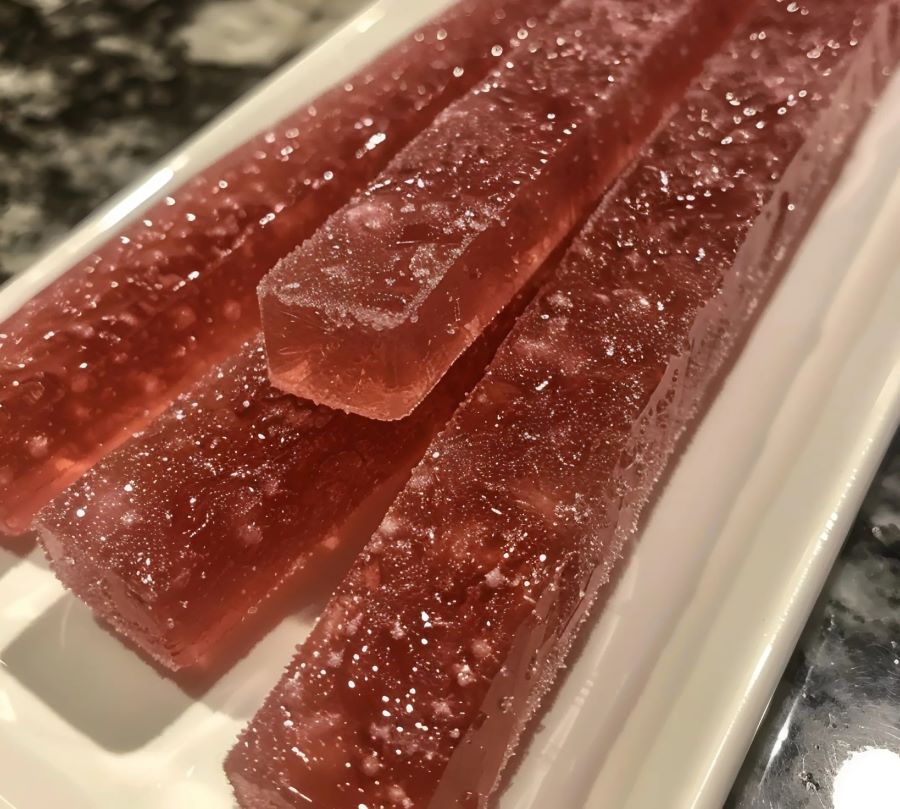
Pour the mixture into ice cream molds or a freezer-safe container. Tap gently to release air bubbles. Freeze for at least 4 hours, but overnight gives the best texture.
Troubleshooting Tip:
If your mixture gets lumpy after adding cornstarch, remove from heat and whisk vigorously. You can strain it through a fine mesh sieve before pouring into molds.
Why You’ll Love This Recipe
– No ice cream machine needed
– Uses pantry staples
– Creamy and smooth texture
– Customizable base
– Kid-approved and family-friendly
– Lower in sugar compared to many store-bought options
– Great for portion control when using molds
Mistakes to Avoid & Solutions
1. Overheating the Mixture
Mistake: Bringing the milk and cream mixture to a boil.
Solution: Always heat on low. Stir constantly and look for gentle bubbling around the edges, not the center.
2. Adding Cornstarch All at Once
Mistake: Dumping cornstarch in without whisking.
Solution: Whisk it in slowly or dissolve it in a small amount of cold milk before adding to avoid clumps.
3. Not Stirring Enough
Mistake: Leaving the mixture unattended.
Solution: Stir regularly to prevent the bottom from burning and the mixture from separating.
4. Pouring into Molds While Too Hot
Mistake: Pouring hot mixture into molds.
Solution: Let the mixture cool to room temperature first to avoid freezer crystallization.
5. Removing from Freezer Too Soon
Mistake: Trying to eat it after 2 hours.
Solution: Wait at least 4 hours or overnight for the perfect consistency.
Serving and Pairing Suggestions
Serve on a stick as frozen pops for kids’ parties
Scoop into a bowl with fresh berries for a healthier dessert
Pair with grilled peaches or caramelized bananas
Top with dark chocolate shavings or crushed nuts for texture
Serve family-style in a chilled bowl with a build-your-own toppings bar
Storage and Reheating Tips
Storage: Store in an airtight container in the freezer for up to 2 weeks. If using molds, wrap each individually in plastic wrap once frozen to prevent freezer burn.
Reheating (Softening): Let sit at room temperature for 5–7 minutes before serving.
Avoid microwaving — it changes the texture.
FAQs
1. Can I make this without condensed milk?
Yes, but you’ll need to increase sugar slightly. Add 5–10g more sugar for balance.
2. What’s the role of milk powder in this recipe?
Milk powder adds richness and helps absorb excess water, giving a creamier texture.
3. Can I use plant-based milk or cream?
You can try, but results may vary. Full-fat coconut milk works best as a substitute.
4. My ice cream has ice crystals. Why?
The mixture may have been too warm when frozen or not thickened enough. Cool fully before freezing.
5. Can I double this recipe?
Yes! Just ensure your pot is large enough to accommodate the increased volume, and cook slightly longer to ensure it thickens evenly.
Tips & Tricks
Chill your molds or container before pouring in the mixture to reduce ice crystal formation.
Use a fine mesh sieve to strain the mixture if you notice any lumps.
Add vanilla beans instead of extract for a more intense flavor.
For richer ice cream, replace 50g of the milk with additional heavy cream.
For fun, add crushed cookies or fruit before freezing!
Recipe Variations
1. Chocolate Ice Cream
Replace 10g of milk powder with unsweetened cocoa powder. Add it in Step 1 and whisk well to combine.
2. Strawberry Swirl
Blend 50g fresh strawberries with 1 tsp lemon juice and 5g sugar. Swirl into the mixture right before pouring into molds.
3. Coffee Ice Cream
Add 1 tsp instant espresso powder to the milk mixture during heating. Stir until dissolved.
4. Coconut Vanilla Ice Cream
Use 200g canned coconut milk in place of regular milk. Skip the milk powder and reduce sugar to 10g.
5. Mango Cream Ice Cream
Add 100g mango puree after the mixture has thickened and cooled. Mix well before pouring into molds.
Final Thoughts
Homemade ice cream doesn’t need to be complicated to be delicious. It just needs care and a bit of stirring love. On the hottest days, when nothing else feels quite right, a cold, creamy bite of this ice cream is a small victory.
It’s a memory-making kind of treat, the kind that lingers in both flavor and feeling. I’ll keep making it — not just because it tastes good, but because it brings us together, one spoonful at a time.
Homemade Ice Cream
Print ThisIngredients
- 160g whipping heavy cream
- 200g milk
- 35g milk powder
- 15g sugar
- 10g condensed milk
- 10g cornstarch
- 2g vanilla extract
Instructions
Step 1: Combine Ingredients in a Pot
In a medium-sized pot, combine the whipping cream, milk, milk powder, sugar, and condensed milk. Stir well using a whisk until everything is evenly mixed and smooth.
Step 2: Gently Heat the Mixture
Place the pot on the stove over low heat. Stir continuously to avoid scorching. Let the mixture heat slowly until warm, but do not let it boil. You should see small bubbles forming around the edges.
Step 3: Thicken with Cornstarch
Add the cornstarch to the warm mixture while whisking constantly. Continue cooking and stirring gently for about 5–8 minutes until the mixture thickens. It should coat the back of a spoon — think pudding-like, not runny.
Step 4: Add Vanilla and Cool
Remove the pot from heat. Stir in the vanilla extract. Let the mixture cool to room temperature, stirring occasionally to prevent a skin from forming on top.
Step 5: Freeze
Pour the mixture into ice cream molds or a freezer-safe container. Tap gently to release air bubbles. Freeze for at least 4 hours, but overnight gives the best texture.
Troubleshooting Tip:
If your mixture gets lumpy after adding cornstarch, remove from heat and whisk vigorously. You can strain it through a fine mesh sieve before pouring into molds.