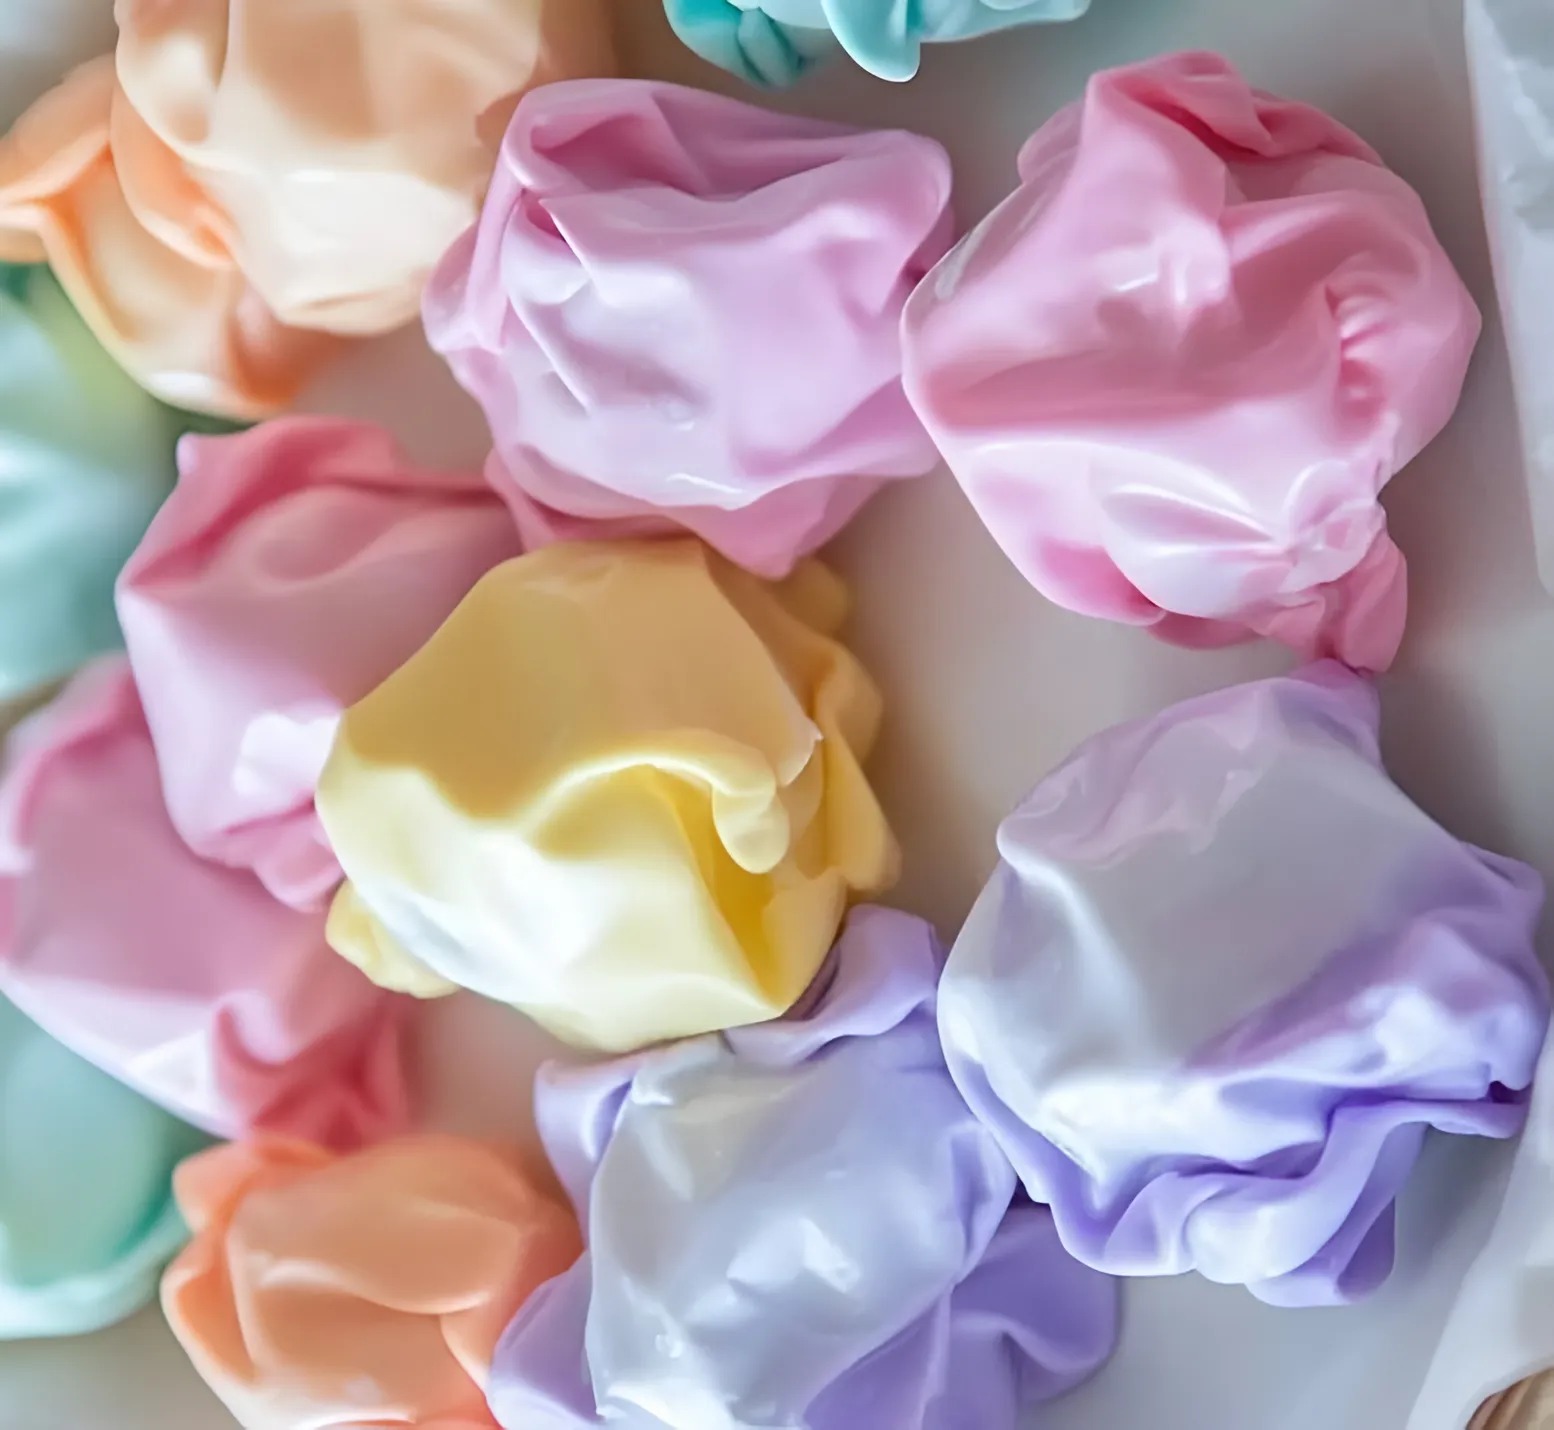
The first time I had this Kool-Aid Taffy, I wasn’t the one who made it. A colleague of mine brought it to work during a slow Thursday morning, tucked in a little wax paper pouch next to her planner. We were halfway through our second cup of coffee when she handed me a piece. It was cherry red, sticky-soft, and glistening like something out of a retro candy shop. I took one bite, and the tangy sweetness hit like a flashback to childhood summers and sticky fingers.
That weekend, I asked her for the recipe. She laughed, told me it was an old trick from her babysitting days, and emailed it with a note that said: “This stuff is magic with Kool-Aid.” I didn’t expect much from something that came together with pantry staples and a candy thermometer, but the joy it brought into my kitchen was real. The scent of boiling sugar, the vivid swirls of Kool-Aid color, the meditative rhythm of pulling warm taffy—it all turned into a little ritual.
Candy made from scratch, not pulled from a store-bought wrapper, brings a deep sense of satisfaction. It invites you to slow down, roll up your sleeves, and make something that might just stick to your countertop but will absolutely stick in your memory.

Short Description
Chewy, fruity, and endlessly fun to make, this Kool-Aid Taffy is a playful homemade treat that brings color and tangy sweetness to your kitchen. Perfect for parties, gifts, or just a nostalgic snack.
Key Ingredients
- 1 cup granulated sugar
- 2 tablespoons light corn syrup
- ½ cup water
- 1 (0.15 oz) packet unsweetened Kool-Aid powder (any flavor)
- ½ teaspoon baking soda
- Optional: Food coloring (to enhance the color of your chosen Kool-Aid flavor)
Tools Needed
- Medium saucepan
- Candy thermometer
- Greased baking sheet or large plate
- Wooden spoon
- Scissors or sharp knife
- Wax paper or plastic wrap
Cooking Instructions
Step 1: Prepare Your Workspace
Lightly grease a baking sheet or a large plate with cooking spray or butter. This helps prevent the taffy from sticking as it cools.
Step 2: Cook the Sugar Mixture
In a medium saucepan over medium heat, combine the sugar, corn syrup, and water. Stir gently until the sugar dissolves completely. Once it does, stop stirring. Allow the mixture to boil undisturbed until it reaches 250°F–260°F (soft-ball stage) on a candy thermometer.
Step 3: Add Flavor and Color
Remove the pan from heat. Immediately stir in the Kool-Aid powder and baking soda. The mixture will bubble up slightly—that’s expected. If you want an extra vibrant hue, add a drop or two of food coloring now.
Step 4: Cool and Stretch
Pour the hot mixture onto the greased baking sheet. Let it cool for about 5–10 minutes until it’s safe to touch but still warm and pliable. Grease your hands well with butter or cooking spray. Begin pulling and stretching the taffy until it becomes light, glossy, and slightly firmer—this takes about 10–15 minutes.
Step 5: Shape and Cut
Once the taffy is stretchy and firm, roll it into a long rope. Cut into bite-sized pieces using greased scissors or a sharp knife. Wrap each piece in wax paper or plastic wrap to prevent sticking.
Step 6: Store and Enjoy
Store your wrapped taffy in an airtight container at room temperature. It stays fresh for up to 2 weeks. Perfect for snacking or gifting!
Why You’ll Love This Recipe
– Bursting with fruity flavor from the Kool-Aid
– Easy to make with pantry staples
– A fun kitchen activity for kids and adults alike
– Nostalgic and customizable
– No special equipment beyond a thermometer
Mistakes to Avoid & Solutions
1. Stirring after boiling begins
Mistake: Stirring after the sugar dissolves can cause crystallization.
Solution: Stir only until dissolved, then stop completely.
2. Overcooking or undercooking the sugar syrup
Mistake: Cooking below 250°F makes taffy too soft, above 260°F too hard.
Solution: Use a candy thermometer and monitor closely.
3. Not greasing hands properly
Mistake: Taffy sticks to everything without grease.
Solution: Generously butter or spray your hands before pulling.
4. Not working quickly enough
Mistake: Taffy hardens as it cools.
Solution: Begin stretching as soon as it’s safe to handle.
5. Skipping the wrapping step
Mistake: Pieces stick together in storage.
Solution: Wrap each piece individually.
Serving and Pairing Suggestions
– Serve in a candy dish at parties
– Pair with black coffee or mint tea to balance sweetness
– Use as a colorful treat in kids’ lunchboxes
– Wrap a handful in cellophane as gifts or party favors
– Serve alongside popcorn for a fun movie night
Storage and Reheating Tips
– Wrap individual pieces in wax paper or plastic wrap
– Store in an airtight container at room temperature
– Avoid refrigerating as it can change texture
– Do not microwave to reheat—taffy should be enjoyed at room temp
FAQs
1. How do I know when the taffy is ready to pull?
Once it’s cool enough to touch but still warm and pliable, it’s ready to pull.
2. Can I use a different flavored powder instead of Kool-Aid?
Yes, any unsweetened flavor powder works similarly.
3. What if I don’t have a candy thermometer?
Drop a bit of syrup into cold water—if it forms a soft ball, it’s ready.
4. Why did my taffy turn grainy?
Likely due to stirring too much after the sugar dissolved or not dissolving the sugar completely.
5. Can kids help make this?
Yes, with supervision. Adults should handle the boiling syrup, and kids can help with stretching once cool.
Tips & Tricks
– Use two people to pull taffy faster and more evenly
– Switch up flavors for a rainbow of options
– Add a drop of peppermint extract for a holiday twist
– Use gloves if you’re sensitive to heat during the pulling stage
– Cut pieces with oiled kitchen scissors for clean edges
Recipe Variations
Sour Taffy: Add ½ teaspoon citric acid with the Kool-Aid for a tangier flavor.
Striped Taffy: Make two batches with different Kool-Aid flavors. Twist them together during the pulling stage for a colorful swirl.
Candy Cane Version: Use peppermint Kool-Aid, add a drop of red food coloring, and shape into small candy canes.
Taffy Pops: Before the taffy fully cools, mold into balls around lollipop sticks and wrap.
Creamy Taffy: Add 1 tablespoon of butter after removing from heat for a richer, creamier texture.
Final Thoughts
Homemade Kool-Aid Taffy has a way of transforming a slow day into something cheerful and bright. It takes a little time and a bit of sugar-fueled patience, but the end result is completely worth it—especially when you’re pulling that last glossy stretch and tasting the fruit-flavored reward. I’ve started keeping packets of Kool-Aid in my pantry just for moments like these.
Next time you need a treat that lifts your mood and makes your kitchen smell like a candy shop, give this taffy a try. It might just become your new rainy day favorite—or your go-to edible gift.

Ingredients
- 1 cup granulated sugar
- 2 tablespoons light corn syrup
- ½ cup water
- 1 (0.15 oz) packet unsweetened Kool-Aid powder (any flavor)
- ½ teaspoon baking soda
- Optional: Food coloring (to enhance the color of your chosen Kool-Aid flavor)
Instructions
Step 1: Prepare Your Workspace
Lightly grease a baking sheet or a large plate with cooking spray or butter. This helps prevent the taffy from sticking as it cools.
Step 2: Cook the Sugar Mixture
In a medium saucepan over medium heat, combine the sugar, corn syrup, and water. Stir gently until the sugar dissolves completely. Once it does, stop stirring. Allow the mixture to boil undisturbed until it reaches 250°F–260°F (soft-ball stage) on a candy thermometer.
Step 3: Add Flavor and Color
Remove the pan from heat. Immediately stir in the Kool-Aid powder and baking soda. The mixture will bubble up slightly—that’s expected. If you want an extra vibrant hue, add a drop or two of food coloring now.
Step 4: Cool and Stretch
Pour the hot mixture onto the greased baking sheet. Let it cool for about 5–10 minutes until it’s safe to touch but still warm and pliable. Grease your hands well with butter or cooking spray. Begin pulling and stretching the taffy until it becomes light, glossy, and slightly firmer—this takes about 10–15 minutes.
Step 5: Shape and Cut
Once the taffy is stretchy and firm, roll it into a long rope. Cut into bite-sized pieces using greased scissors or a sharp knife. Wrap each piece in wax paper or plastic wrap to prevent sticking.
Step 6: Store and Enjoy
Store your wrapped taffy in an airtight container at room temperature. It stays fresh for up to 2 weeks. Perfect for snacking or gifting!


