One quiet afternoon last summer, I stood barefoot in my kitchen, warm sunlight pouring through the window, and the smell of coffee lingering in the air. I had just turned 64 and decided to make something bold, something decadent to celebrate the little joys that had carried me through decades of teaching and parenting. As I glanced at the old recipe card tucked into my grandmother’s cookbook—its edges frayed from years of chocolate stains and flour fingerprints—I knew exactly what I wanted to make: a Mocha Brownie Ice Cream Cake.
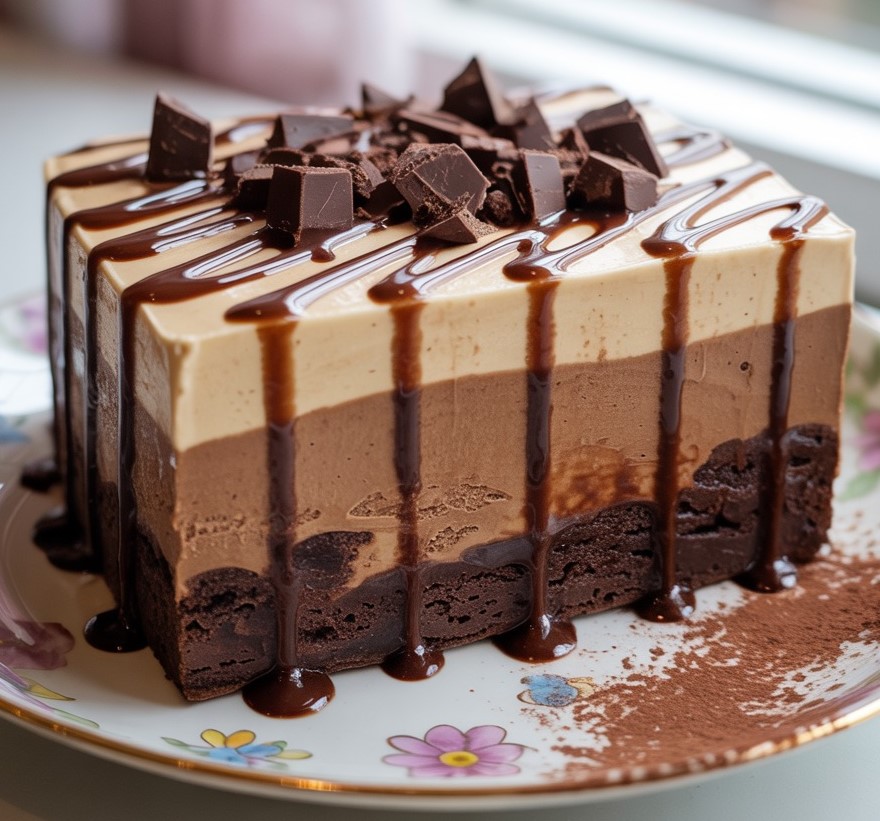
This wasn’t just any dessert. It was a legacy. My daughter used to call it “the cake that could solve anything,” because I’d bring it out during birthdays, snow days, or anytime someone needed cheering up. The base is a rich, chewy brownie infused with brewed coffee, topped with a thick layer of creamy ice cream, and drizzled with silky mocha sauce. It’s the kind of dessert that demands a slow bite and silence—except for the satisfied hums around the table.
I’ve tweaked the original recipe over the years, softening the sweetness here, adding stronger coffee there, but its heart remains the same. It’s not just the flavor that draws me in—it’s the act of layering memories into every bite. Making this cake is like building a little moment of celebration, one that stays frozen in time until you slice into it.
So if your heart is craving something comforting yet sophisticated, this cake is for you. It’s where indulgence meets nostalgia, wrapped in swirls of chocolate and cream.
Short Description
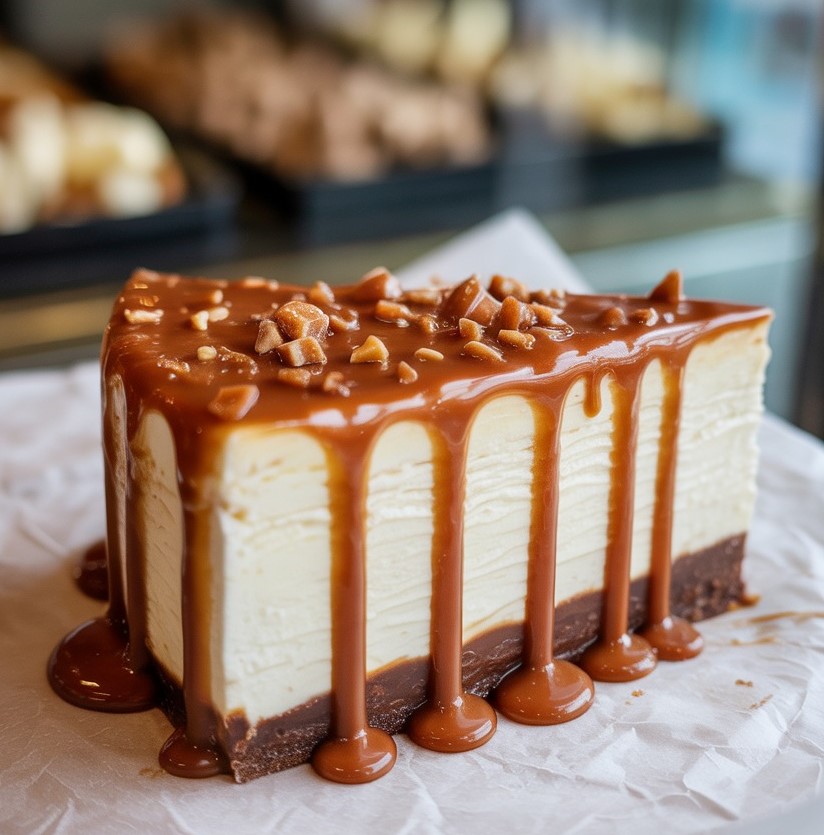
A luscious frozen dessert with a rich brownie base, creamy ice cream center, and silky mocha drizzle—perfect for celebrations, summer treats, or anytime indulgence.
Key Ingredients
- 1 cup (2 sticks) unsalted butter
- 2 cups granulated sugar
- 4 large eggs
- 1 teaspoon vanilla extract
- 1 cup all-purpose flour
- 1/2 cup cocoa powder
- 1/4 teaspoon salt
- 1/2 cup strong brewed coffee, cooled
- 1/2 cup chocolate chips
- 2 tablespoons sugar
- 1.5 quarts (about 6 cups) chocolate or coffee-flavored ice cream, softened
- Whipped cream
- Chocolate shavings or sprinkles
Tools Needed
- 9×13-inch baking pan
- Parchment paper
- Medium and small saucepans
- Mixing bowls
- Rubber spatula
- Whisk or electric mixer
- Toothpick (for doneness test)
- Offset spatula (optional, for smoothing layers)
- Freezer-safe container or the same baking pan
Cooking Instructions
Step 1: Prep Your Pan
Preheat the oven to 350°F (175°C). Grease a 9×13-inch baking pan and line it with parchment paper, leaving an overhang for easy lifting later.
Step 2: Make the Brownie Batter
In a medium saucepan over medium heat, melt the butter. Stir in the granulated sugar until glossy and smooth. Remove from heat.
Step 3: Add the Wet Ingredients
Crack in the eggs one at a time, stirring well after each. Add vanilla extract and mix until smooth.
Step 4: Combine Dry Ingredients
In a separate bowl, sift together the flour, cocoa powder, and salt. Gently fold the dry mixture into the wet ingredients. Then stir in the brewed coffee and chocolate chips.
Step 5: Bake the Brownies
Pour the batter into your prepared pan. Spread evenly. Bake for 25–30 minutes until a toothpick inserted comes out with moist crumbs. Cool completely in the pan.
Step 6: Prepare the Mocha Sauce
In a small saucepan, heat the remaining brewed coffee and sugar over medium heat until the sugar dissolves. Remove from heat and stir in chocolate chips until melted and silky. Let it cool to room temperature.
Step 7: Add the Ice Cream Layer
Once the brownie base is fully cooled, spread the softened ice cream evenly over the top. Use a spatula to smooth the surface.
Step 8: Drizzle the Mocha Sauce
Pour the cooled mocha sauce over the ice cream layer. Swirl gently with a knife if you like a marbled look.
Step 9: Freeze Until Firm
Cover the pan tightly and freeze the cake for at least 6 hours or overnight for the best texture.
Step 10: Decorate and Serve
Before serving, top with whipped cream and sprinkle on chocolate shavings or sprinkles. Slice with a warm knife for clean cuts.
Why You’ll Love This Recipe
Decadent flavor: A bold mix of chocolate and coffee
Perfect for summer: Frozen and refreshing
Easy to make: Simple ingredients, minimal tools
Make-ahead friendly: Prepare it the night before
Versatile: Dress it up or keep it casual
Mistakes to Avoid & Solutions
1. Using warm brownies for layering
Problem: The ice cream melts into a puddle.
Solution: Ensure the brownie layer is completely cooled—ideally chilled—before adding ice cream.
2. Ice cream too hard or too soft
Problem: Hard ice cream tears the brownie; overly melted ice cream becomes soupy.
Solution: Let the ice cream soften at room temp for 10–15 minutes until spreadable but not runny.
3. Overbaking the brownie base
Problem: Dry, crumbly brownies ruin the texture.
Solution: Bake until a toothpick shows moist crumbs—not dry. Err on the side of slightly underbaked.
4. Uneven layering
Problem: The ice cream or sauce runs to one side.
Solution: Use an offset spatula or the back of a spoon to level each layer carefully.
5. Skipping the parchment
Problem: You can’t get the cake out cleanly.
Solution: Always use parchment paper with overhangs so you can lift the cake out easily.
Serving and Pairing Suggestions
Slice into squares or rectangles for neat servings
Serve with espresso or a chilled glass of coffee liqueur
Perfect as a birthday cake alternative or summer BBQ treat
Pair with fresh raspberries or a scoop of extra ice cream on the side
Present it on a chilled platter for an elegant look
Storage and Reheating Tips
To store: Wrap the pan tightly with foil or transfer slices to an airtight container. Keep frozen up to 7 days.
To reheat brownie layer (before ice cream): If prepping ahead, warm individual slices (brownie-only) in the microwave for 10–15 seconds.
To slice cleanly: Run a sharp knife under hot water and wipe between cuts.
FAQs
1. Can I use decaf coffee for this recipe?
Yes! Decaf will still provide the deep coffee flavor without the caffeine.
2. What if I don’t have chocolate chips?
You can chop a chocolate bar into chunks or skip them for a smoother texture.
3. Can I make this cake ahead of time?
Absolutely. This cake actually tastes better when frozen overnight.
4. What type of ice cream works best?
Coffee or chocolate-flavored ice cream are best, but vanilla with espresso swirl also pairs beautifully.
5. How do I transport this for a party?
Freeze solid, then wrap in ice packs or place in a cooler. Keep frozen until serving.
Tips & Tricks
Use high-quality cocoa and real vanilla for deeper flavor
Mix instant espresso powder into the mocha sauce for extra intensity
Line the pan with parchment both ways for easy lifting
If the top layer is soft before serving, pop it back in the freezer for 15 minutes
Add chopped toasted almonds or hazelnuts on top for texture
Recipe Variations
1. Mint Mocha Version
Swap chocolate chips with mint chips. Use mint chocolate chip ice cream instead of coffee. Add 1/4 tsp peppermint extract to the mocha sauce.
2. Gluten-Free Twist
Use a 1:1 gluten-free flour blend instead of all-purpose flour. Ensure all other ingredients are certified gluten-free.
3. Peanut Butter Mocha Cake
Swirl 1/2 cup creamy peanut butter into the mocha sauce. Use chocolate peanut butter ice cream for an extra nutty flavor.
4. Tiramisu-Inspired
Use espresso ice cream and sprinkle crushed ladyfingers on top of the mocha sauce. Dust with cocoa powder before serving.
5. Mocha Berry Delight
Add a layer of fresh raspberries between the brownie and ice cream. Top with raspberry sauce instead of mocha for a fruity twist.
Final Thoughts
Making this Mocha Brownie Ice Cream Cake always leaves me with chocolate on my fingertips and a smile on my face. It reminds me how much love can live inside a simple dessert—how layers of cocoa, cream, and coffee can become a small family tradition. I see my grandchildren’s eyes light up when I bring it to the table, just like my daughter’s used to.
This recipe isn’t just about flavor—it’s a celebration, a quiet afternoon turned into a memory. And isn’t that what home cooking is about? Passing down something sweet, something familiar, and watching it bloom in a new kitchen with new hands.
So whether you’re baking to treat yourself, surprise someone you love, or just embrace the joy of mixing and stirring, this cake has something to offer. It’s a little effort with a whole lot of reward—and frankly, it’s too good not to share.
Mocha Brownie Ice Cream Cake
Print ThisIngredients
- 1 cup (2 sticks) unsalted butter
- 2 cups granulated sugar
- 4 large eggs
- 1 teaspoon vanilla extract
- 1 cup all-purpose flour
- 1/2 cup cocoa powder
- 1/4 teaspoon salt
- 1/2 cup strong brewed coffee, cooled
- 1/2 cup chocolate chips
- 2 tablespoons sugar
- 1.5 quarts (about 6 cups) chocolate or coffee-flavored ice cream, softened
- Whipped cream
- Chocolate shavings or sprinkles
Instructions
Step 1: Prep Your Pan
Preheat oven to 350°F (175°C). Grease a 9×13-inch pan and line with parchment, leaving extra on the sides for lifting.
Step 2: Make the Brownie Batter
Melt butter in a saucepan over medium heat. Stir in sugar until glossy, then remove from heat.
Step 3: Add Wet Ingredients
Mix in eggs one at a time, then stir in vanilla until smooth.
Step 4: Combine Dry Ingredients
Sift flour, cocoa, and salt. Gently fold into wet mix. Add coffee and chocolate chips.
Step 5: Bake the Brownies
Pour into the pan, spread evenly, and bake for 25–30 minutes. Cool completely.
Step 6: Make the Mocha Sauce
Heat remaining coffee and sugar until dissolved. Stir in chocolate chips off heat until smooth. Cool to room temp.
Step 7: Add Ice Cream Layer
Spread softened ice cream over cooled brownie layer. Smooth with a spatula.
Step 8: Drizzle the Sauce
Pour mocha sauce over ice cream. Swirl gently for a marbled look, if desired.
Step 9: Freeze Until Firm
Cover tightly and freeze at least 6 hours or overnight.
Step 10: Decorate and Serve
Top with whipped cream and chocolate shavings or sprinkles. Slice with a warm knife.