Every time I make old-fashioned Chocolate Crunch School Dinner Pudding, I feel like I’ve been handed a secret key back to my schooldays—though I must confess, it tastes far better now than it ever did under those flickering cafeteria lights.
In the late ’70s, we’d shuffle into the lunch hall, eyes already darting past the shepherd’s pie and cabbage, hoping to see that familiar brown square waiting at the end of the line. That crunchy top, the unmistakable cocoa scent, and that soft chew beneath… It was a humble reward for enduring math class before lunch.
Back then, you never asked for the recipe—you just hoped for seconds. It wasn’t until years later, while sorting through my mother’s recipe cards in a faded biscuit tin, that I spotted something scribbled in blue ink: “Choc Crunch – school pudding.” I nearly wept. It brought back more than flavor—it brought laughter from shared benches, the clatter of cutlery, and friends long moved on.
Now that I’m retired, with more time to bake and share these stories, I make this chocolate crunch for my grandchildren—though they’ve never sat in a drafty canteen, they eat it just as eagerly. And just like that, something old becomes new again.
Short Description
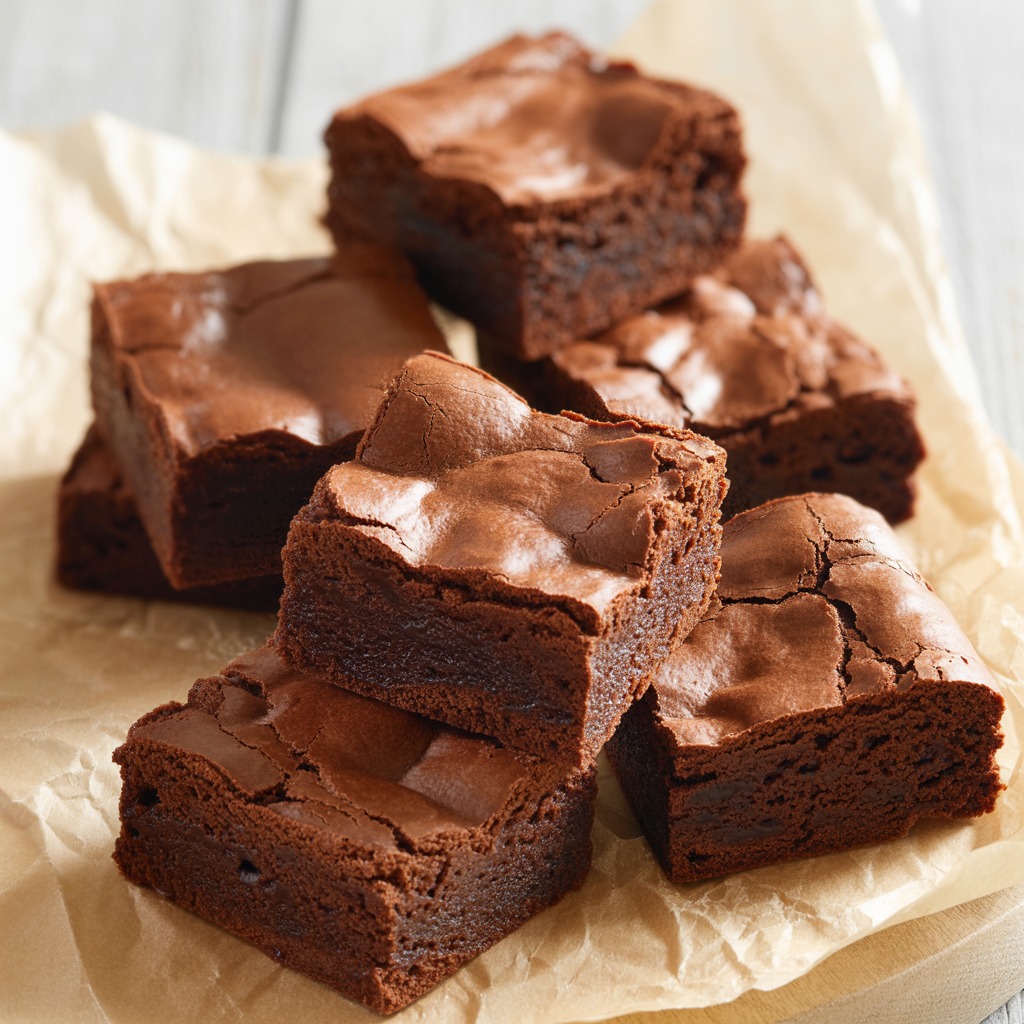
A nostalgic, no-fuss chocolate crunch bar with a crispy bite and soft, fudgy base—perfectly reminiscent of classic British school dinners. Simple ingredients, fast to make, and completely irresistible warm or cold.
Key Ingredients
- 200g plain flour
- 100g caster sugar
- 30g cocoa powder
- 150g butter, melted
- 2 tbsp golden syrup
- 1 tsp baking powder
- 25g desiccated coconut (optional, but adds great texture and flavor)
Tools Needed
- 20cm x 20cm square baking tin
- Mixing bowl
- Wooden spoon or spatula
- Measuring spoons
- Parchment paper (or butter to grease tin)
- Oven
Cooking Instructions
Step 1: Preheat & Prep
Preheat your oven to 180°C (fan) or 200°C (conventional). Line your baking tin with parchment or lightly grease it. A 20x20cm tin works best—it gives you that classic chunky crunch bar look.
Step 2: Mix Dry Ingredients
In a large bowl, combine the plain flour, caster sugar, cocoa powder, baking powder, and coconut (if using). Stir thoroughly so everything is evenly mixed—this ensures the crunch bakes uniformly.
Step 3: Add Butter and Syrup
Pour in the melted butter and golden syrup. Mix well using a wooden spoon (or your hands if you prefer a tactile approach). The mixture should resemble damp, crumbly soil—dry enough to hold shape but moist enough to bind.
Step 4: Press It In
Scoop the mixture into your prepared tin and press it down firmly with the back of a spoon. Flatten it evenly to ensure even baking. It should feel firm and slightly compacted—like a thick brownie layer.
Step 5: Bake to Perfection
Bake for 20–25 minutes. You’ll know it’s ready when the surface is cracked slightly and feels firm to the touch. It might seem soft underneath, but don’t worry—it firms up beautifully once cooled.
Optional Tip: For an even more authentic experience, dust the top with icing sugar once cooled and serve with warm custard.
Why You’ll Love This Recipe
– Classic childhood flavor with a grown-up twist
– Quick and easy—only 30 minutes from start to finish
– Perfect texture: crunchy on top, slightly chewy inside
– Budget-friendly ingredients
– Great for batch baking and school lunch nostalgia
– Optional coconut adds another layer of flavor and chew
– Pairs wonderfully with custard, ice cream, or on its own
Mistakes to Avoid & Solutions
Too Dry?
If the mixture crumbles and won’t hold together, your butter might’ve cooled too much. Reheat gently and mix again.
Too Soft After Baking?
This is normal. The crunch sets as it cools—don’t overbake or it’ll turn hard. Let it rest at least 20 minutes after baking.
Uneven Texture?
Make sure to press the mixture down evenly in the tin—use a flat spatula if needed.
Burnt Edges?
Ovens vary. If yours runs hot, check the crunch at 18 minutes. Edges should be firm but not dry.
Sticky Tin?
Always line or grease the tin properly. The syrup and butter can cause sticking otherwise.
Serving and Pairing Suggestions
Serve warm with a generous pour of vanilla custard
Cut into bars for lunchboxes or picnics
Top with a scoop of vanilla or chocolate ice cream
Serve chilled for a firmer, more brownie-like bite
For parties, drizzle with melted chocolate or dust with icing sugar
Storage and Reheating Tips
Store in an airtight container at room temperature for up to 5 days
Refrigerate if you prefer a firmer texture—it’ll be chewier
Freeze individual squares wrapped in foil or clingfilm for up to 2 months
To reheat, microwave a square for 15–20 seconds or warm in the oven at 160°C for 5–7 minutes to soften
FAQs
1. Can I make this gluten-free?
Yes—swap plain flour for a 1:1 gluten-free flour blend. Add ¼ tsp xanthan gum if your mix doesn’t contain it.
2. Can I skip the coconut?
Absolutely. It’s optional. If you leave it out, no need to replace it with anything.
3. Can I use honey instead of golden syrup?
Technically yes, but the flavor and texture will change. Golden syrup adds a distinct richness that honey lacks.
4. Is this suitable for vegetarians?
Yes! All ingredients listed are vegetarian-friendly.
5. Why is mine crumbling when I slice it?
It may be too warm. Let it cool completely before slicing for cleaner cuts.
Tips & Tricks
For even baking, rotate the tray halfway through
Press mixture firmly but not too hard—it needs to breathe while baking
Let it cool in the tin to finish setting
For a richer flavor, sift cocoa powder before mixing
Want a smoother top? Use a spatula dipped in hot water to smooth the surface before baking
Final Thoughts
Every bite of this chocolate crunch brings back that warm, familiar feeling of simpler days—shared trays, clinking forks, and the murmur of classmates in the background. It’s more than dessert—it’s a time capsule of British schooldays, wrapped in cocoa and golden syrup. But what I love most is how it adapts. Whether made for a cozy night in or served at a garden party, it never feels out of place.
I’ve watched this pudding make its way from an old lunch hall memory to my kitchen counter and now, hopefully, to yours. Recipes like this don’t just fill our plates—they fill the room with memories, both old and new. And in passing them down, we keep something lovely alive.
If you do try it, don’t forget the custard. It’s not required, but let’s be honest—it’s half the joy.
Traditional Chocolate Crunch School Dinner Pudding
Print ThisIngredients
- 200g plain flour
- 100g caster sugar
- 30g cocoa powder
- 150g butter, melted
- 2 tbsp golden syrup
- 1 tsp baking powder
- 25g desiccated coconut
Instructions
Step 1: Preheat & Prep
Preheat your oven to 180°C fan (200°C conventional). Line or grease a 20x20cm tin—this size gives you that classic school-dinner thickness.
Step 2: Mix Dry Ingredients
In a large bowl, mix the flour, sugar, cocoa, baking powder, and coconut (if using). Stir well to evenly combine.
Step 3: Add Butter and Syrup
Pour in the melted butter and golden syrup. Mix until you get a moist, crumbly texture that holds when pressed.
Step 4: Press It In
Transfer the mix to your tin and press it down firmly and evenly with the back of a spoon.
Step 5: Bake to Perfection
Bake for 20–25 minutes until the top is cracked and firm. It’ll set fully as it cools.