One lazy summer morning, my grandkids and I gathered around the kitchen table—not to bake cookies or knead dough this time, but to embark on a fizzy little experiment that turned into one of our favorite weekend rituals. We’d just finished a batch of lemon bars when one of them asked, “Can we make something that bubbles like soda but looks like a rainbow?” That was the spark.
I remembered a simple kitchen science trick I’d done with my students decades ago—a DIY lava lamp. Back in my teaching days, this demonstration was always a hit, especially with curious minds and wide eyes watching droplets of color dance through oil like magic.
I rummaged through the pantry, found an old Alka-Seltzer bottle, some vegetable oil, and food coloring from last Easter’s egg dyeing kit. Before we knew it, the counter was set up like a mini science lab, complete with giggles and oohs and aahs. The moment those colored bubbles rose and popped, we were all mesmerized. It wasn’t just about the science or the colors. It was about seeing something beautiful form from simple household ingredients—and sharing a moment of wonder across generations.
Since then, I’ve made this bubbling beauty with my nieces, Sunday school kids, and even my bridge group. It’s a great reminder that joy doesn’t always have to come from a stovetop or oven. Sometimes, it’s a bottle, a tablet, and a little color that brings the biggest smiles.
Short Description
This DIY Lava Lamp is a fun, kid-friendly kitchen experiment that creates a mesmerizing visual display using oil, water, food coloring, and effervescent tablets. No heat, no mess—just pure bubbly delight.
Key Ingredients
- 1 tall, narrow clear bottle or jar
- 3/4 cup vegetable oil
- 1/4 cup water
- Several drops of food coloring (any color or combination you like)
- 3–4 effervescent tablets (Alka-Seltzer or generic brand)
Tools Needed
- Measuring cups
- Funnel (optional, but helpful)
- Spoon (for breaking tablets)
- Towel (for cleanup, just in case)
Cooking Instructions
Step 1: Add the Oil
Fill your clear bottle about three-quarters full with vegetable oil. The oil acts as the top layer, setting the stage for the bubbling magic.
Step 2: Pour in the Water
Slowly add water until the bottle is nearly full, leaving about an inch at the top. The water will sink below the oil—this separation is key to the effect.
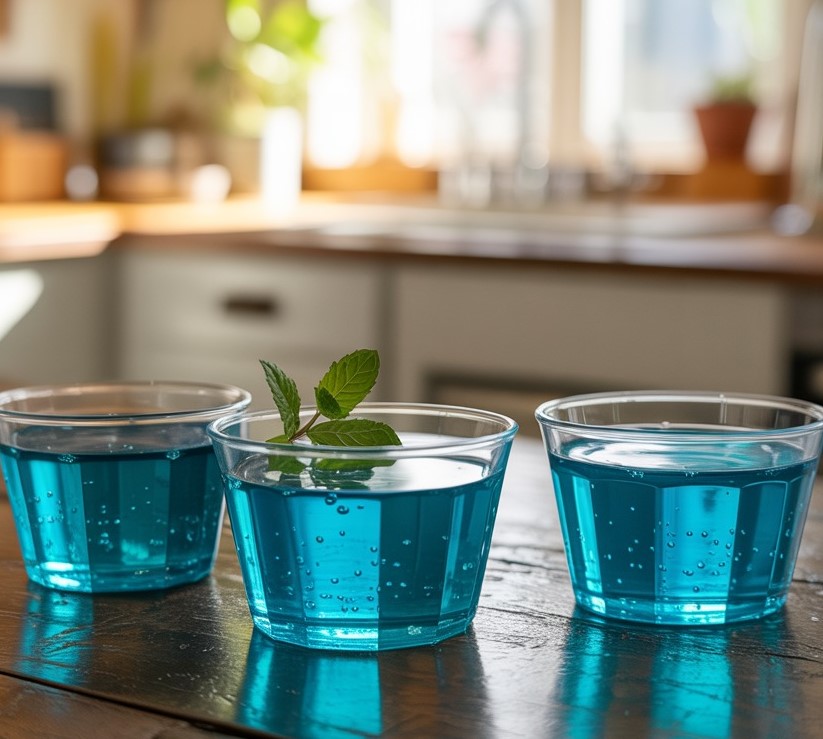
Step 3: Add Food Coloring
Drop in 5–10 drops of food coloring. Watch as the color droplets pass through the oil, slowly piercing it like little gems until they hit the water. You can swirl in a second or third color for an extra pop.
Step 4: Drop in the Tablet
Break an effervescent tablet into three or four small pieces. Drop in one piece and stand back. The reaction starts quickly—the tablet bubbles in the water, carrying colored blobs upward through the oil.
Step 5: Enjoy the Show
As the bubbles rise and fall, you’ll see your lava lamp come to life. Once the action slows, drop in another tablet piece to restart the fun.
Step 6: Experiment
Try using more or fewer tablets, different food color combinations, or a larger jar. This isn’t just a one-time experiment—it’s endlessly tweakable.
Step 7: Clean Up Carefully
When you’re done, pour the mixture into a container with a tight lid and dispose of it properly. Do not pour it down the drain, especially if using large amounts of oil.
Why You’ll Love This Recipe
– No stove or oven required
– Safe and simple—great for kids and seniors
– Uses pantry staples
– Educational and interactive
– Sparks creativity and curiosity
– Quick setup and cleanup
Mistakes to Avoid & Solutions
1. Adding food coloring before the water
Problem: It won’t sink through the oil.
Solution: Always pour the water first, then drop the food coloring so it passes through the oil layer.
2. Using too much water
Problem: It reduces the bubbling effect and makes the oil overflow.
Solution: Keep the water layer smaller—about 1/4 of the bottle height.
3. Dropping in a whole tablet
Problem: Too much fizz too fast, causing spills or splashes.
Solution: Break the tablet into smaller pieces for better control.
4. Shaking the bottle
Problem: The oil and water emulsify and the effect is ruined.
Solution: Avoid shaking. Gently swirl if needed, but keep it still.
5. Using cloudy or opaque containers
Problem: You won’t see the lava lamp clearly.
Solution: Always choose a tall, clear, and narrow bottle or jar.
Serving and Pairing Suggestions
While you don’t serve this one in the culinary sense, here’s how to make it part of a fun experience:
– Perfect for a rainy afternoon with kids
– Display it as a temporary centerpiece at a dinner party
– Pair it with other DIY crafts for a themed science day
– Add it to a birthday party science station
– Use it as a calming visual during quiet time or meditation
Storage and Reheating Tips
Storage: Seal the bottle with a tight-fitting cap and store upright in a cool spot. Do not refrigerate.
Reuse: You can use the same bottle for several “bubbles” sessions. Just add new tablet pieces when ready.
Shelf Life: Best enjoyed within a few days. Over time, the layers can become cloudy.
Disposal: When finished, pour the contents into a container and discard with solid waste. Do not pour down the sink.
FAQs
1. What happens if I shake the lava lamp bottle?
Shaking mixes the oil and water, ruining the separation and making it cloudy. Let it settle again before reusing.
2. Can I reuse the same bottle multiple times?
Yes, as long as the mixture looks clean and layers remain separated. Just add more tablets when you’re ready.
3. Is this safe for toddlers or young children?
Yes—with supervision. Make sure they don’t try to drink the liquid or handle tablets unsupervised.
4. Can I use other types of tablets or fizzy ingredients?
Effervescent vitamin C tablets or bath bombs can work, but test first in small amounts. The bubbling strength may vary.
5. Why isn’t my lava lamp bubbling very much?
The tablet may be too small or old. Try a fresh piece or use a slightly larger chunk for stronger bubbles.
Tips & Tricks
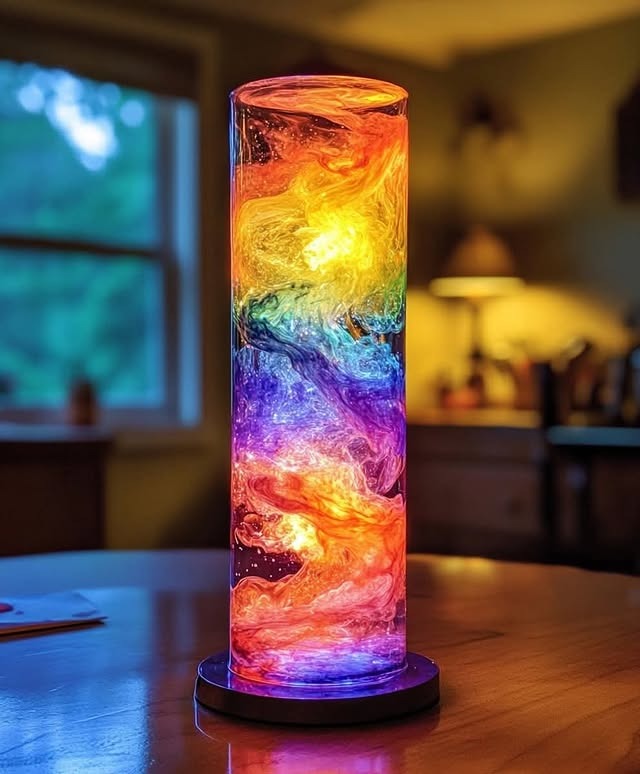
Try using a flashlight behind the bottle in a dark room—instant glowing lava lamp!
Layer two food colors for a tie-dye effect (drop one, wait, then the second).
Use taller bottles for slower, more dramatic bubbling.
Don’t overfill the bottle—leave space for bubbling to avoid spills.
For parties, use plastic bottles and pre-fill them so guests can “activate” their own lava lamp.
Recipe Variations
1. Glitter Lava Lamp
Swap in a few pinches of fine glitter before adding the tablet. It’ll swirl with the bubbles for a dazzling effect.
2. Essential Oil Aromatherapy Lamp
Add 2–3 drops of your favorite essential oil to the water before sealing. Peppermint, lavender, or lemon offer calming aromas. Not to be sniffed up close—just enjoy the scent from a distance.
3. Glow-in-the-Dark Version
Use glow-in-the-dark food coloring or a drop of non-toxic glow paint mixed with water. Best viewed in low light.
4. Mini Travel Lava Lamp
Use a small 4 oz travel bottle and follow the same ratios. Great for classroom kits or party favors.
5. Layered Color Bottle
Fill the bottle in thirds with differently colored water layers (dye one portion blue, another red, and the third yellow), pouring carefully over the back of a spoon to keep colors distinct. Then add oil and the tablet for a rainbow show.
Final Thoughts
Every time I make a DIY lava lamp, I feel like I’m stepping back into my classroom—but instead of a blackboard and chalk, I have a bottle and bubbles. It’s a playful blend of science, creativity, and wonder, reminding me that the kitchen can be a lab just as much as it’s a place for food. Watching the colors rise and fall, like little bursts of magic, is just as satisfying as pulling a warm pie from the oven.
I’ve shared this project with curious kids and skeptical grown-ups, and it never fails to amaze. The simplicity of the ingredients, the joy of experimentation, and the peaceful rhythm of the bubbles make this one of those delightful kitchen activities that bridge generations. It’s not a recipe for your stomach—but certainly for your soul. And sometimes, that’s the best kind.
Have you tried your own lava lamp yet? I’d love to hear what colors or twists you tried. Let’s keep creating magic—one bottle at a time.
DIY Lava Lamp
Print ThisIngredients
- 1 tall, narrow clear bottle or jar
- 3/4 cup vegetable oil
- 1/4 cup water
- Several drops of food coloring (any color or combination you like)
- 3–4 effervescent tablets (Alka-Seltzer or generic brand)
Instructions
Step 1: Add the Oil
Fill the bottle about ¾ full with vegetable oil. This forms the top layer.
Step 2: Pour in the Water
Add water slowly until the bottle is nearly full. It will sink below the oil, creating two layers.
Step 3: Add Food Coloring
Drop in 5–10 drops of food coloring. Watch it sink through the oil and mix into the water below. Try multiple colors for a vibrant look.
Step 4: Drop in the Tablet
Break a tablet into pieces and drop one in. It’ll fizz and lift the colored water into the oil.
Step 5: Enjoy the Show
Watch the lava lamp effect as bubbles rise and fall. Add more tablet pieces to keep it going.
Step 6: Experiment
Try new colors, different tablet sizes, or use a larger jar for extended fun.
Step 7: Clean Up Carefully
Pour the used liquid into a sealed container for disposal—never down the drain.