Mint Chocolate Squares were already written on my grocery list before the first snow of the season arrived. December tends to bring overlapping moments into the kitchen: a neighbor stopping by with borrowed cookie cutters, my cousin calling to confirm dessert duty for a church potluck, and a stack of handwritten recipe cards spread across the counter.
Mint Chocolate Squares have always had a way of bridging generations in my family. One person looks for the deep chocolate base, another waits for the cool mint layer, and someone always sneaks a corner piece when no one is watching.
That afternoon, the oven warmed the house while a radio played softly in the background. My youngest helped grease the pan, carefully dusting flour like it was a science experiment. Later, the mint layer turned a soft shade of green, drawing quiet approval from everyone nearby. When the chocolate topping finally went on, smooth and glossy
The pan disappeared into the refrigerator alongside holiday leftovers and half-wrapped gifts. By evening, slices were already spoken for, labeled in foil for a school fundraiser, a book club night, and a neighbor recovering from surgery.
Mint Chocolate Squares didn’t stay in one place for long. They moved from kitchen to table to shared conversation with ease.
Short Description
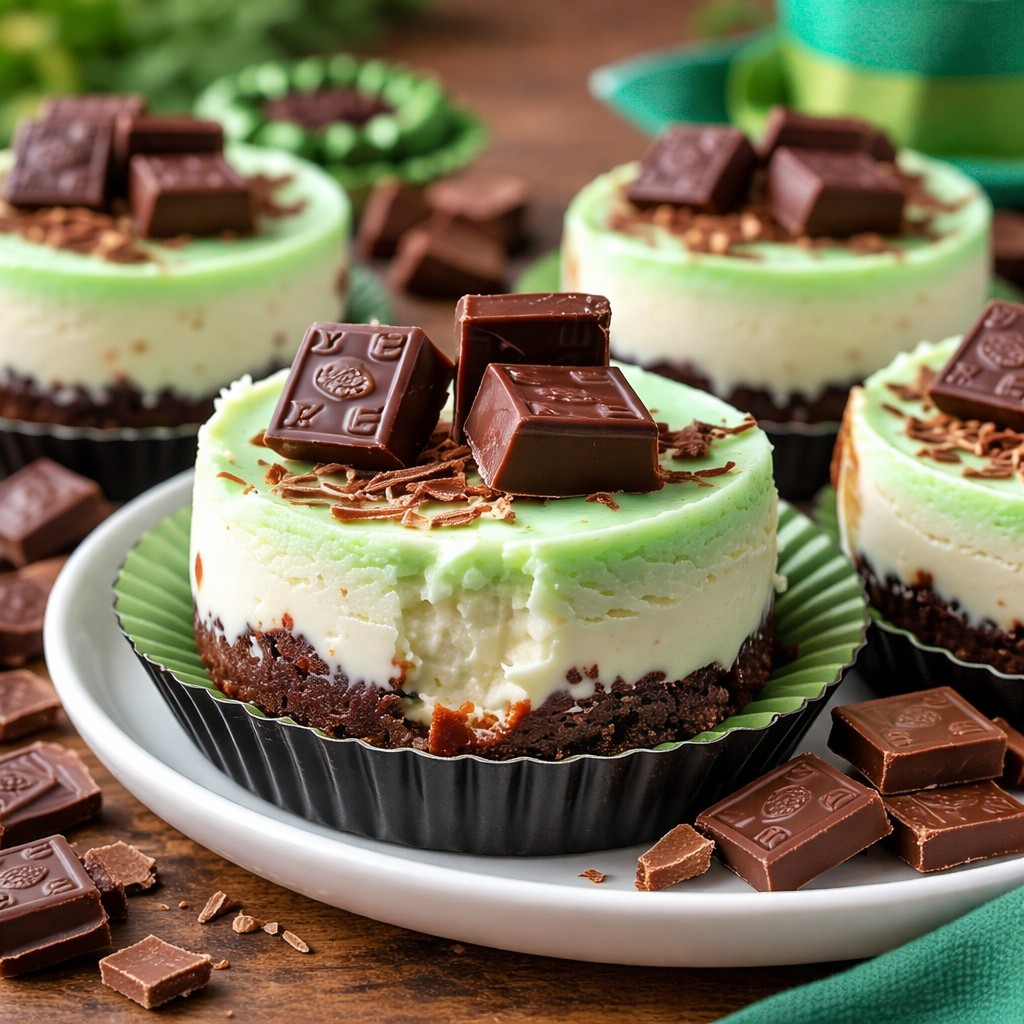
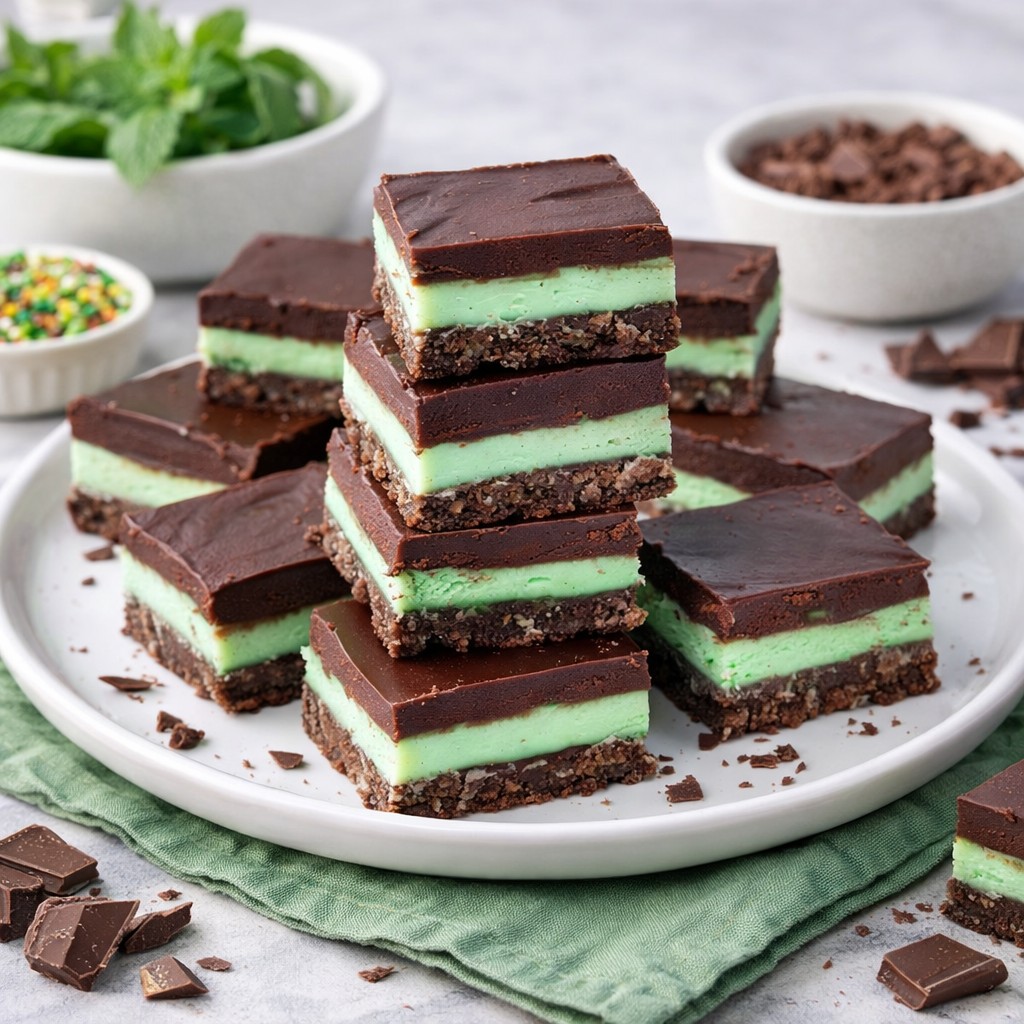
Mint Chocolate Squares are layered dessert bars featuring a fudgy chocolate crust, a creamy mint filling, and a smooth chocolate topping. They are chilled, sliceable, and ideal for make-ahead occasions.
Key Ingredients
For the crust
- 1 cup all-purpose flour
- 1 cup granulated white sugar
- ½ cup butter, at room temperature
- 4 large eggs
- 24 oz Hershey’s chocolate syrup
For the mint cream layer
- 2 cups powdered sugar
- ½ cup butter, at room temperature
- 1 tablespoon water
- ½ teaspoon peppermint extract
- 3 drops green food coloring
For the chocolate topping
- 6 tablespoons butter
- 1 cup mint or semi-sweet chocolate chips
Tools Needed
- 9×13-inch baking pan
- Electric mixer
- Mixing bowls
- Rubber spatula
- Measuring cups and spoons
- Microwave-safe bowl or small saucepan
- Refrigerator space for chilling
Cooking Instructions
Step 1: Prepare the Pan
Preheat the oven to 350°F. Grease and flour a 9×13-inch pan, making sure the corners are well coated.
Step 2: Make the Crust
In a medium bowl, beat flour, sugar, butter, eggs, and chocolate syrup with an electric mixer until smooth. The batter should look thick and glossy.
Step 3: Bake the Base
Pour the batter into the prepared pan and spread evenly. Bake for 25–30 minutes until the center is set. A toothpick should come out mostly clean with a few moist crumbs. Cool completely.
Step 4: Prepare the Mint Cream Layer
In a clean bowl, mix powdered sugar, butter, water, peppermint extract, and green food coloring until smooth and spreadable.
Step 5: Spread and Chill
Spread the mint cream evenly over the cooled crust. Chill in the refrigerator until firm, about 30–45 minutes.
Step 6: Make the Chocolate Topping
Melt butter and chocolate chips together in a microwave-safe bowl in 20-second intervals or over low heat on the stove. Stir until smooth.
Step 7: Finish and Chill
Pour the chocolate topping over the mint layer and spread evenly. Cover and refrigerate until fully firm. Cut into squares and keep chilled until serving.
Why You’ll Love This Recipe
Clear, defined layers with balanced flavors
Make-ahead friendly for busy schedules
Easy slicing for gatherings and events
Rich chocolate paired with refreshing mint
Familiar ingredients with dependable results
Works well for holidays and potlucks
Mistakes to Avoid & Solutions
Warm crust before spreading mint layer
A warm base can melt the mint cream.
Solution: Allow the crust to cool completely before adding the mint layer.
Using spearmint instead of peppermint
Spearmint creates an off flavor.
Solution: Use peppermint extract only.
Uneven chocolate topping
Chocolate can thicken too quickly.
Solution: Spread immediately while warm using a spatula.
Cutting too soon
Squares may smear if not fully set.
Solution: Chill until completely firm before slicing.
Overbaking the crust
A dry base affects the final texture.
Solution: Check at 25 minutes and remove once the center is set.
Serving and Pairing Suggestions
Serve chilled on dessert trays
Pair with coffee, espresso, or hot cocoa
Cut into small squares for buffet-style serving
Plate with fresh berries for contrast
Include on holiday cookie platters
Storage and Reheating Tips
Store covered in the refrigerator up to 5 days
Keep slices layered with parchment paper
Do not freeze, as layers may separate
Serve directly from the refrigerator
Allow 5 minutes at room temperature for easier slicing
FAQs
1. Can Mint Chocolate Squares be made ahead?
Yes, they are ideal for preparing one or two days in advance.
2. Do these need to stay refrigerated?
Yes, refrigeration keeps the layers firm and clean.
3. Can I use semi-sweet chocolate instead of mint chips?
Yes, semi-sweet chocolate works well if mint chips are unavailable.
4. How do I get clean cuts?
Use a sharp knife wiped clean between slices.
5. Can I double the recipe?
Yes, bake in a larger pan and adjust baking time slightly.
Tips & Tricks
Line the pan with parchment for easier lifting
Chill between layers for cleaner assembly
Measure peppermint carefully to avoid overpowering flavor
Use room-temperature butter for smooth layers
Cut smaller squares for rich desserts
Recipe Variations
Dark Chocolate Mint Squares: Use dark chocolate chips for the topping for a deeper cocoa flavor.
Extra Mint Layer: Increase peppermint extract to ¾ teaspoon for a stronger mint profile.
White Chocolate Top: Replace chocolate chips with white chocolate for contrast.
Nutty Crust: Add ½ cup finely chopped walnuts to the crust batter.
Holiday Sprinkle Finish: Add green or silver sprinkles before the topping sets.
Final Thoughts
Mint Chocolate Squares bring a familiar rhythm to the kitchen, one that unfolds in calm stages and ends with a tray ready for sharing. The layers settle into place patiently, rewarding a little planning with clean slices and balanced flavor. Each bite carries a sense of intention, from the baked base to the chilled finish.
There is something steady about returning to desserts that fit many moments at once. Mint Chocolate Squares do that quietly, without needing decoration or explanation. They hold their place on the table and in conversation, making them worth keeping close whenever a reliable dessert is needed.
Easy Mint Chocolate Squares
Ingredients
For the crust
- 1 cup all-purpose flour
- 1 cup granulated white sugar
- ½ cup butter at room temperature
- 4 large eggs
- 24 oz Hershey’s chocolate syrup
For the mint cream layer
- 2 cups powdered sugar
- ½ cup butter at room temperature
- 1 tablespoon water
- ½ teaspoon peppermint extract
- 3 drops green food coloring
For the chocolate topping
- 6 tablespoons butter
- 1 cup mint or semi-sweet chocolate chips
Instructions
- Preheat oven to 350°F. Grease and flour a 9x13-inch pan well.
- Beat flour, sugar, butter, eggs, and chocolate syrup until thick and smooth.
- Spread batter in pan and bake 25–30 minutes until set. Cool completely.
- Mix powdered sugar, butter, water, peppermint extract, and green coloring until smooth.
- Spread mint cream over cooled crust and chill 30–45 minutes until firm.
- Melt butter and chocolate chips together, stirring until smooth.
- Spread chocolate topping over mint layer, chill until firm, then cut and serve.