For generations, the default method for preparing bacon has been frying it in a skillet. However, standing over a sputtering pan of hot grease often leads to uneven cooking, painful grease splatters, and a messy stovetop. Utilizing a conventional oven is a highly efficient, professional-grade alternative that ensures large batches of bacon cook evenly with minimal effort and cleanup.
This comprehensive guide covers the science of oven-baking bacon, precise times and temperatures, specific cut variations, proper storage safety, and advanced culinary applications.
Why the Oven Method Superior
Cooking bacon over direct heat in a pan creates localized hot spots. Because bacon consists of distinct strips of fat and lean muscle tissue, these two components cook at different rates. High direct heat often scorches the lean meat before the thick pockets of fat can properly render, resulting in bacon that is simultaneously burnt and chewy.
In contrast, an oven provides an environment of ambient, circulating heat. This indirect thermal energy transfers evenly across the entire surface of the meat. As the ambient temperature rises, the fat renders slowly and uniformly, allowing the moisture in the lean tissue to evaporate at a controlled pace. The result is perfectly flat, uniformly crispy bacon that retains its structural integrity without shrinking excessively or curling.
Required Equipment and Setup
To achieve optimal results, specific kitchen tools are required to manage heat distribution and grease containment.
High-Quality Bacon: Standard-cut, thick-cut, or center-cut pork bacon, or turkey bacon alternatives.
Large, Rimmed Baking Sheet: Also known as a half-sheet pan (approximately 13×18 inches). A raised rim of at least 0.5 inches is mandatory to safely contain the rendered liquid fat and prevent oven fires.
Heavy-Duty Aluminum Foil or Parchment Paper: Essential for easy cleanup. Heavy-duty foil can be molded tightly to the contours of the pan to prevent grease from leaking underneath.
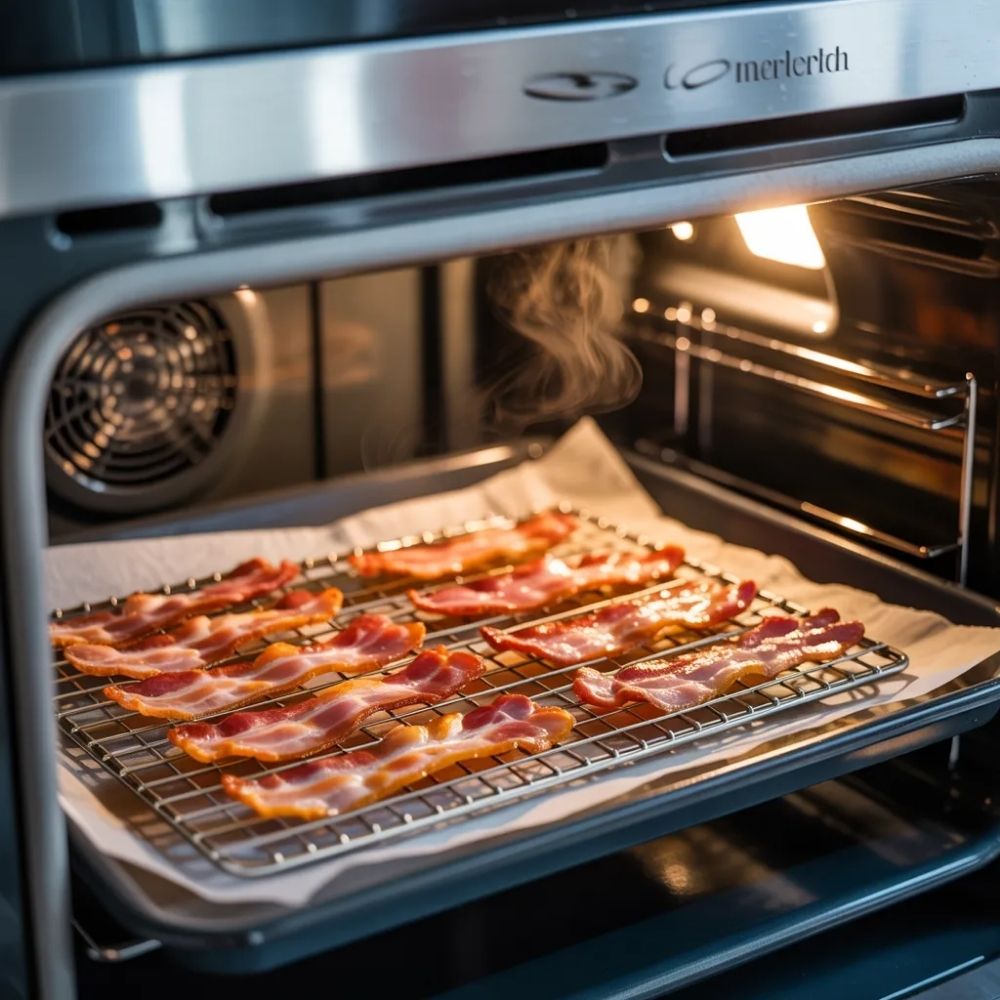
Wire Cooling Rack (Optional but Recommended): An oven-safe metal grid that fits precisely inside the baking pan. Elevating the meat allows hot air to circulate underneath the strips, leading to a lighter, crispier texture.
Master Temperature and Timing Chart
The standard recommended temperature for baking bacon is 400°F (200°C). This temperature strikes the perfect balance between rendering fat efficiently and browning the meat via the Maillard reaction without crossing the smoke point of pork fat (which sits around 370°F to 400°F depending on purity).
However, ovens fluctuate, and specific recipes may require sharing oven space at different temperatures. Below is an exhaustive breakdown of cooking times across various temperatures and meat cuts.
| Oven Temperature | Bacon Cut Type | Total Cooking Time | Expected Texture Outcome |
| 350°F (175°C) | Standard Cut | 25 to 30 minutes | Highly rendered, deeply golden, slightly chewier bite. |
| 350°F (175°C) | Thick-Cut | 30 to 35 minutes | Ideal for thick slabs; melts the fat entirely without drying the edges. |
| 375°F (190°C) | Standard Cut | 20 to 25 minutes | Balanced crispiness with a moderate cooking window. |
| 375°F (190°C) | Thick-Cut | 25 to 30 minutes | Consistent results, good for recipes requiring subsequent chopping. |
| 400°F (200°C) | Standard Cut | 15 to 20 minutes | The Golden Standard. Maximum crispiness, uniform color, fast execution. |
| 400°F (200°C) | Thick-Cut | 20 to 25 minutes | Robust crunch, tender interior meat, optimal structure. |
| 425°F (220°C) | Standard Cut | 12 to 15 minutes | Ultra-fast method; requires constant observation to prevent burning. |
| 425°F (220°C) | Thick-Cut | 15 to 18 minutes | Shatteringly crisp exterior; high risk of localized scorching if unmonitored. |
Step-by-Step Instructions for Perfect Execution
Step 1: Preheating and Pan Preparation
Begin by preheating the conventional oven to 400°F (200°C). Ensure the oven rack is positioned in the exact center of the oven to guarantee even top-and-bottom heat exposure.
Tear a sheet of heavy-duty aluminum foil that is roughly two inches longer than the baking pan. Press the foil firmly into the bottom, smoothing out wrinkles, and press it up and over all four edges of the rim. For absolute security against grease leakage, a second layer of foil can be laid perpendicularly to the first. If preferred, unbleached parchment paper can be used instead of foil, though it cannot be molded over the rims as securely.
If a wire rack is being used for maximum airflow, spray it lightly with a neutral, high-smoke-point cooking spray (such as canola or grapeseed oil) to prevent the protein fibers from sticking to the metal. Place the rack firmly inside the lined sheet pan.
Step 2: Strategic Arrangement of the Strips
Remove the bacon from refrigeration immediately prior to cooking; cold fat handles better and holds its shape during arrangement. Lay the bacon strips flat across the pan or wire rack.
Position the strips parallel to one another. Because bacon consists of highly elastic muscle fibers and water-heavy fat cells, it will shrink by roughly 30% to 40% during the baking process. Consequently, the raw strips can be placed close enough to touch slightly along their long edges. However, they must never overlap vertically. Overlapping zones will trap steam rather than radiating dry heat, resulting in pale, rubbery patches on the finished product.
Step 3: The Baking and Monitoring Phase
Transfer the loaded baking sheet carefully onto the middle rack of the preheated oven. Close the door immediately to retain consistent ambient heat.
Set an initial timer for 12 minutes for standard bacon or 17 minutes for thick-cut bacon. Avoid opening the oven door frequently during the early stages, as dropping temperatures delay the rendering process.
Once the initial timer sounds, observe the progress through the oven window or briefly pull the tray out. The grease should be bubbling vigorously, and the white fat sections should begin turning an opaque, golden-tan hue.
Continue baking in 2-to-3-minute increments until the desired level of deep auburn color and crispness is achieved. No flipping of the bacon is necessary, as the heat radiating from the pan bottom and circulating air cooks both sides simultaneously.
Step 4: The Crucial Draining Process
Remove the pan from the oven using heavy-duty oven mitts, keeping the tray completely level to avoid spilling hot, liquefied fat.
Prepare a large plate or cutting board by layering three sheets of absorbent paper towels on top of it. Using metal kitchen tongs, immediately lift each strip of bacon from the hot grease tray and transfer it to the paper towels. If left sitting in the pooling grease on the tray as it cools, the bacon will reabsorb the fat, losing its crisp texture and becoming heavy and greasy.
Let the bacon rest on the paper towels for 90 to 120 seconds. During this cooling phase, the residual heat completes the crisping process as the internal proteins fully solidify.
Special Variations: Slicing into Specific Cut Types
How to Handle Thick-Cut and Slab Bacon
Thick-cut bacon is typically sliced twice as thick as standard commercial bacon (roughly 1/8 inch thick). Because of the increased thermal mass, a lower-and-slower cooking curve is often beneficial if maximum fat rendering is desired. Baking at 375°F for 28 minutes frequently yields a superior internal texture—tender on the inside with a crunchy exterior crust—compared to a rapid blast at high heat.
Turkey Bacon Optimization
Turkey bacon is processed from cured, smoked turkey meat rather than pork belly. As a result, its fat content is significantly lower. Without abundant fat to naturally render and fry the meat in the oven, turkey bacon can quickly dehydrate, turning brittle and dry rather than crispy.
To achieve an optimal texture:
- Preheat the oven to 400°F (200°C).
- Lightly brush both sides of the turkey bacon strips with a minimal amount of neutral vegetable oil or olive oil to substitute for the missing natural fats.
- Bake directly on parchment paper (avoid wire racks, which can cause sticking due to the lack of grease) for 12 to 15 minutes.
- Flip the strips exactly halfway through the cooking process (around the 7-minute mark) to ensure even color development across both sides.
Alternative Technique: The Microwave Oven Method
When cooking time is severely limited, or when only one or two slices are required for a single serving, a microwave oven serves as an acceptable alternative. This method relies on dielectric heating to rapidly agitate water and fat molecules inside the meat.
Step-by-Step Microwave Execution:
Utilize a heavy, microwave-safe ceramic or glass plate. Do not use plastic dishes, as the high temperatures reached by rendering bacon fat can melt common household plastics.
Place two layers of thick, durable paper towels over the surface of the plate. These towels serve the vital function of absorbing the rapidly escaping grease.
Arrange up to 4 slices of bacon in a single layer on top of the paper towels. Ensure a minimum of half an inch of space remains between each slice.
Cover the top of the bacon with an additional layer of paper towel. This acts as a shield to completely contain the high-velocity grease splatters that occur during rapid microwaving.
Microwave on high power using a baseline formula of 1 minute per slice of standard bacon. For 3 slices, program the microwave for 3 minutes.
Carefully peel back the top paper towel to inspect the texture. If additional crispness is required, continue microwaving in tightly controlled 30-second intervals. Remove the slices promptly from the damp paper towels so they do not adhere to the fibers as they cool.
Comprehensive Storage, Preservation, and Food Safety Standards
Proper management of both the cooked meat and the byproduct grease is essential for maximizing household culinary resources and maintaining strict food safety protocols.
Cold-Storage Lifespans and Reheating
Bacon is a cured product containing sodium nitrite and salt, which naturally inhibit bacterial growth. However, once cooked, vulnerability to oxidation and spoilage remains.
Raw Package Integrity: An unopened package of commercial raw bacon can remain in the refrigerator until its printed expiration date. However, once a raw package is opened, it must be completely cooked or transferred to the freezer within 7 days.
Cooked Batch Storage: Leftover roasted bacon must be cooled completely to room temperature (not exceeding 2 hours at room temperature for safety). Store the strips flat in an airtight container or a heavy-duty zip-top bag lined with a fresh paper towel. It can be safely stored in the refrigerator for 4 to 5 days.
Freezer Longevity: Cooked bacon can be frozen for up to 3 months. To prevent the strips from freezing into a solid block, flash-freeze them in a single layer on a parchment-lined tray for 1 hour before transferring them to a permanent freezer bag.
Reheating Protocols: To restore crispness to refrigerated bacon without overcooking it, place the strips in a dry skillet over medium heat for 1 minute per side, or place them on a tray in a 350°F oven for 4 to 5 minutes.
The Preservation of Liquid Bacon Grease
The rendered fat left behind on the baking sheet is a highly prized culinary asset, often referred to by professional chefs as “liquid gold.” It possesses a deep, smoky flavor profile that cannot be replicated by commercial oils or butter.
Cooling: Allow the liquid fat on the baking sheet to cool for approximately 10 to 15 minutes after removing the bacon. The fat must remain liquid but should not be scorching hot when handled.
Filtration: Place a fine-mesh metal strainer or a layer of cheesecloth over the mouth of a clean, dry glass Mason jar. Carefully lift the foil liner by its corners, forming a funnel, and pour the liquid fat through the strainer into the jar. This filtration step removes char and stray protein particles, which prevents the grease from turning rancid prematurely.
Storage Parameters: Seal the jar tightly. Bacon grease can be stored in the refrigerator for 3 to 6 months, where it will solidify into an opaque, creamy white paste. Alternatively, it can be kept in the freezer indefinitely.
Culinary Uses: Utilize tablespoons of solid bacon grease as a substitute for butter or oil when searing steaks, roasting Brussels sprouts or potatoes, frying eggs, or greasing a skillet for savory cornbread.
Advanced Application: Companion Appetizer Recipes
The reliable, ambient heat distribution of the oven method allows home cooks to prepare complex bacon-integrated appetizers simultaneously or using the exact same technical principles.
Standard Cream Cheese Jalapeño Poppers
Jalapeño poppers require steady heat to soften the fibrous pepper pod while melting and lightly browning the cheese filling.
Preparation: Slice fresh jalapeños in half lengthwise. Use a spoon to scrape out the seeds and white membranes (where the capsaicin heat is concentrated). Fill each hollowed pepper half with a mixture of cream cheese, shredded cheddar, garlic powder, and chives.
Baking Profile: Arrange the stuffed peppers on a parchment-lined baking sheet. Bake at 400°F (200°C) for 20 minutes. The peppers will become tender-crisp, and the cheese will develop a bubbly, golden-brown crust.
Bacon-Wrapped Jalapeño Poppers
Integrating bacon directly onto the exterior of the jalapeño popper complicates the cooking dynamic, as the bacon must fully render and crisp up at the exact same moment the pepper reaches optimal tenderness. Standard frying is impossible here; the oven is the only reliable method.
Technical Modification: Prepare the jalapeño peppers with the cheese filling as detailed above. Take one slice of standard-cut bacon (avoid thick-cut for this application, as it takes too long to cook through around the damp pepper) and wrap it tightly around the stuffed jalapeño in a spiral pattern, ensuring the ends of the bacon are tucked securely underneath the pepper to prevent unravelling.
Baking Profile: Place the bacon-wrapped peppers onto a wire rack set inside a rimmed sheet pan. The wire rack is mandatory for this recipe to allow the rendering grease to drop away from the underside of the pepper, preventing a soggy bottom.
Time Adjustment: Bake at 400°F (200°C) for 25 to 30 minutes. This extended cooking duration is necessary to ensure the wrapped layers of bacon are completely rendered, deeply browned, and crisp all the way around the circumference of the appetizer. Serve after cooling for 5 minutes to allow the molten cheese filling to set.
Step 1: Preheating and Pan Preparation 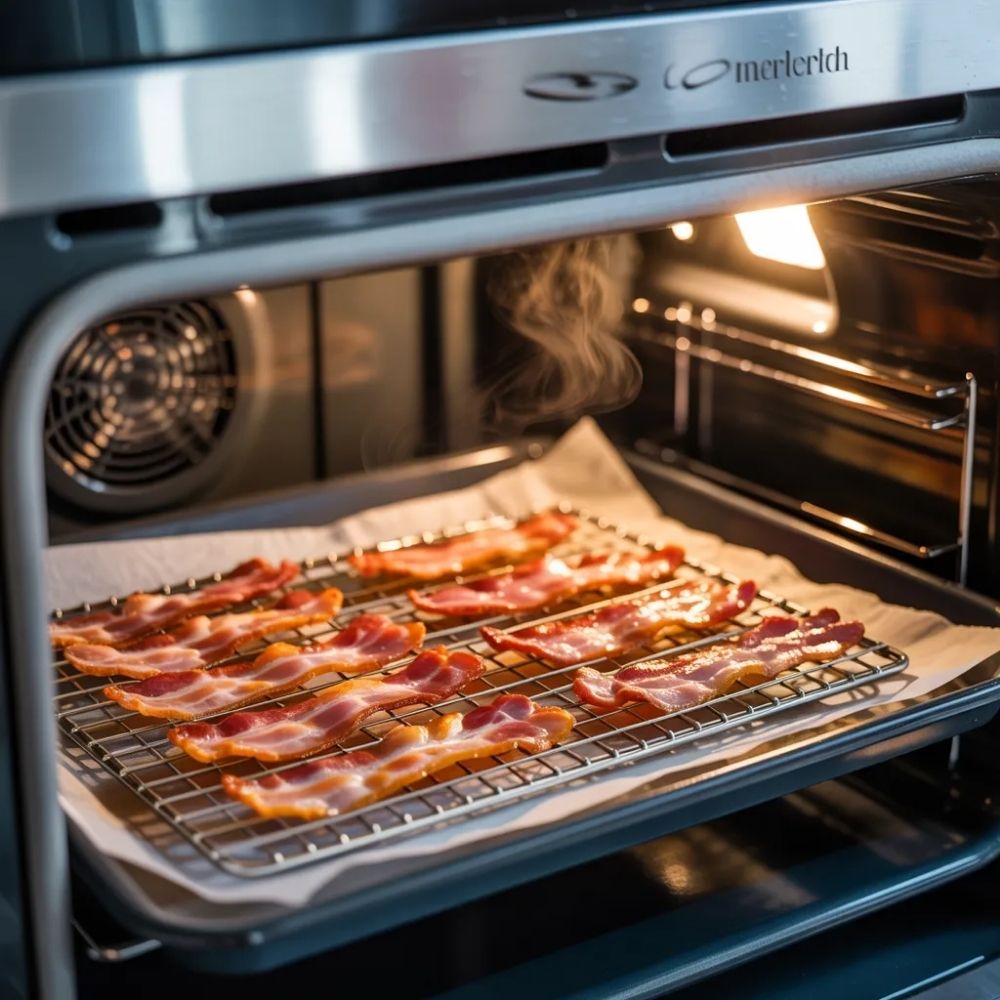
How To Cook Bacon In The Oven
Print This
Ingredients
Instructions
Step 2: Strategic Arrangement of the Strips
Step 3: The Baking and Monitoring Phase
Step 4: The Crucial Draining Process