Plant-based milk alternatives have transitioned from specialty health food staples to mainstream refrigerator essentials. Among them, almond milk remains a popular choice due to its mild flavor, versatile culinary applications, and creamy texture. While commercial options are widely available, they frequently contain stabilizers, emulsifiers, and preservatives to extend shelf life.
Learning how to make almond milk at home allows for complete control over ingredients, sweetness, and thickness. It also eliminates the need for synthetic additives. This guide provides a comprehensive, step-by-step methodology for making almond milk, explores the science behind the process, and offers practical kitchen hacks to maximize your yield.
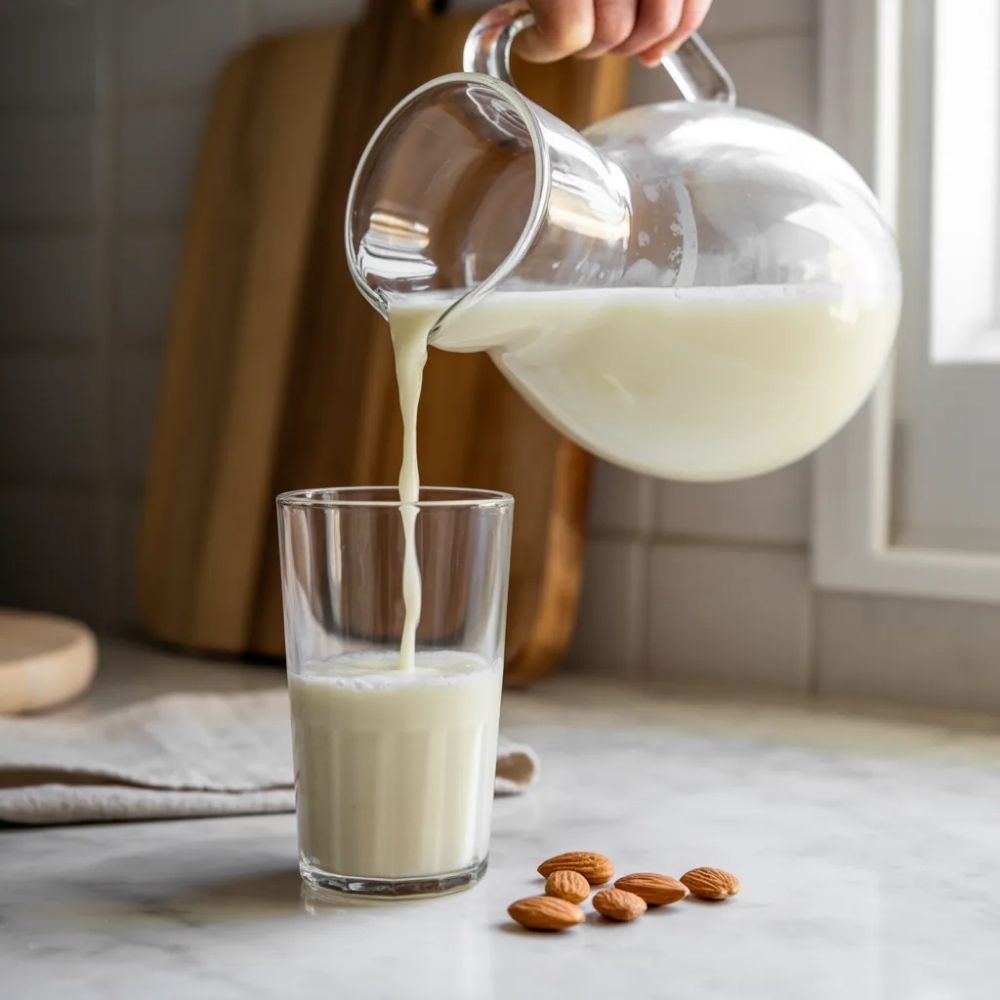
Deconstructing the Process: How is Almond Milk Made?
If you have ever wondered, “how is almond milk made” or “how do they make almond milk” in commercial factories, the answer is surprisingly simple. At an industrial scale, the process involves soaking almonds, grinding them with water, and passing the slurry through massive industrial filters to separate the liquid from the solids.
When looking at commercial options, like standard supermarket varieties or target almond milk, you will notice a long ingredient list that includes vitamins, calcium carbonate, and gums like gellan or locust bean.
But how do you make almond milk without those commercial additives? The process does not change much when brought into a residential kitchen. When considering almond milk how is it made at home, the core physics remain identical to factory production: you break down the nut’s cellular walls with water to create an emulsion, then strain out the insoluble fiber.
Understanding the Ingredients and Equipment
The beauty of a home made almond milk project lies in its simplicity. You only need two foundational ingredients, but selecting the right quality and tools will significantly impact the final texture and taste.
1. Raw Almonds
To figure out how to make almond milk from almonds, you must start with the correct type of nut. Always choose raw, unroasted almonds. Roasted almonds will alter the flavor profile, creating a distinct “cooked nut” taste that does not mimic traditional milk well. Pasteurized raw almonds work perfectly. Avoid salted or flavored varieties.
2. Filtered Water
Because almond milk is roughly 90% water, the quality of your water matters. Tap water with high chlorine or mineral content can negatively affect the clean, subtle flavor of the almonds. Use filtered or bottled spring water for the best results.
3. Essential Equipment
To master how to make nut milk at home, you will need a few specialized tools to achieve a smooth texture:
A High-Speed Blender: A blender with a powerful motor (at least 1000 to 1500 watts) is necessary to pulverize the nuts completely. Standard blenders can work, but they may leave a grainier texture and yield less milk.
A Nut Milk Bag: This is a reusable mesh bag typically made of nylon or hemp. It has a much finer weave than cheesecloth, ensuring that no fine pulp passes through into your milk. If you do not have one, a clean flour sack towel can suffice.
A Large Mixing Bowl: For catching the strained milk.
Glass Storage Containers: Mason jars or glass carafes with airtight lids are ideal for keeping the milk fresh.
The Base Ratio: Finding Your Ideal Consistency
The standard ratio for balanced, versatile almond milk is 1:4—one cup of almonds to four cups of water. However, you can easily adjust this ratio depending on how you plan to use the milk.
For Standard Milk, combine 1 cup of almonds with 4 cups of water. This option works best for cereal, drinking, baking, and general cooking needs.
For Creamer or Whole Milk, use a tighter ratio of 1 cup of almonds to 3 cups of water. This creates a richer body that pairs perfectly with coffee, tea, heavy sauces, or morning oatmeal.
For an Ultra-Thick Cream, blend 1 cup of almonds with just 2 cups of water. This concentrated version is ideal for soups, vegan baking substitutes, or for frothing into lattes.
Step-by-Step Guide: How to Prepare Almond Milk
If you are looking for a definitive how to make almond milk recipe, the following protocol balances culinary science with efficiency. This method explains exactly how to prepare almond milk at home with minimal effort.
Step 1: The Soaking Phase
Soaking is the most critical step in the entire process. Do not skip it.
Place 1 cup of raw almonds into a clean bowl.
Cover them with enough water so that the liquid sits at least two inches above the nuts (they will expand as they absorb water).
Leave the almonds to soak for 8 to 12 hours at room temperature. If your kitchen is exceptionally warm, place the bowl in the refrigerator to prevent fermentation.
The Science of Soaking: Soaking softens the cellular structure of the almond, making it much easier for a high-speed blender to break it down into a smooth emulsion. Furthermore, soaking initiates the germination process, which breaks down phytic acid. Phytic acid can bind to minerals like iron and zinc, reducing their absorption in the digestive tract. Soaking effectively makes the nutrients in the almonds more bioavailable.
Step 2: Rinsing and Peeling (Optional)
After soaking, drain the almonds and rinse them thoroughly under cold, running water. You will notice they look plump and their skins are slightly wrinkled.
To Peel or Not to Peel? You do not need to peel the almonds; the skins will be filtered out by the nut milk bag anyway. However, removing the skins yields an ultra-white, slightly sweeter milk. If you want a pristine aesthetic, you can easily pinch the soaked almonds, and the skins will slip right off. This step shows you exactly how do you milk almonds with clean results.
Step 3: Blending
Transfer the rinsed, soaked almonds into your high-speed blender.
Pour in 4 cups of filtered water (or less if you prefer a creamier blend).
Secure the lid tightly and start blending on a low speed, gradually increasing to the highest setting.
Blend continuously for 60 to 90 seconds. The liquid should look uniformly white, opaque, and frothy, with no visible large chunks of nuts remaining.
Step 4: Straining
Place your nut milk bag over the opening of a large, clean mixing bowl.
Slowly pour the blended mixture into the bag.
Gather the top of the bag together with one hand to close it, and use your other hand to gently squeeze the bottom of the bag.
Work from the top down, firmly pressing and wringing the bag to extract as much liquid as possible.
Continue until you are left with a very dry, crumbly ball of pulp inside the bag and a smooth liquid in the bowl.
Step 5: Bottling and Refrigeration
- Pour the strained milk from the bowl into your glass storage jars.
- Seal the jars tightly and place them immediately in the coldest part of your refrigerator.
[Step 1: Soak 8-12 Hours] ➔ [Step 2: Rinse Thoroughly] ➔ [Step 3: Blend with Fresh Water]
                                                                     │
[Step 5: Bottle & Chill]   ◀   [Step 4: Strain via Nut Milk Bag] ◄───┘
The Broader Context: How to Produce Almond Milk Efficiently
Once you master this base technique, you might ask, “how do i make almond milk with different flavor profiles?” or “how can i make almond milk look like store-bought versions?”
To customize your batch, always add flavorings after straining the milk, returning the strained liquid to a clean blender to combine.
Classic Sweetened: Add 1 to 2 pitted Medjool dates (or 1 tablespoon of pure maple syrup or agave nectar) during a secondary brief blend.
Vanilla Bean: Add 1 teaspoon of pure vanilla extract or the scraped paste of half a vanilla bean.
Pinch of Salt: A tiny pinch of fine sea salt (about $\frac{1}{8}$ teaspoon) does not make the milk salty; rather, it acts as a flavor enhancer that cuts through any residual bitterness and brings out the natural sweetness of the almond.
Understanding how to get almond milk with the perfect texture is a gateway to learning how do you make nut milk in general. You can use this exact same methodology to process cashews, macadamia nuts, or walnuts. The foundational rule of how is nut milk made remains constant: soak, blend, and strain.
Nutritional Realities: Is Almond Milk Ever Bad for You?
While learning how to make almond milk at home yields a clean beverage, it is important to address certain nutritional misconceptions. Some health advocates claim that commercial almond milk not good for you because it is low in protein compared to dairy or soy milk, and often contains added sugars.
When you learn how to make almond milk in your own kitchen, you control the sugar content completely. However, keep in mind that the straining process removes most of the fiber and protein found in the whole nut. Home production creates a refreshing, low-calorie beverage, but it should not be relied upon as a primary protein source.
Storage, Shelf Life, and Food Safety
Because homemade almond milk lacks chemical preservatives and undergoes no pasteurization after blending, it has a relatively short shelf life compared to store-bought options. It is crucial to understand timelines so you do not accidentally consume expired almond milk.
Timeline Metrics
If you are wondering how long does almond milk last or how long will almond milk last without stabilizers, the timeline is brief. Generally, standard homemade almond milk lasts between 3 to 5 days in a properly refrigerated environment kept at or below 40°F (4°C).
To answer common storage timeline questions more specifically:
How long can almond milk last in the fridge? It can survive 3 to 5 days maximum from the day of blending before it begins to spoil.
How long does almond milk last in the refrigerator? It will remain fresh for 3 to 5 days, provided it is kept on an interior shelf rather than the door.
How long will almond milk last in the fridge? Expect a strict 3 to 5-day window before natural bacterial growth causes the flavor to turn sour.
How long does almond milk last when opened? For commercial brands, the answer is usually 7 to 10 days. Homemade alternatives do not have an “unopened” buffer since they are not pasteurized or vacuum-sealed.
Critical Tips for Extending Shelf Life
Sterilize Containers: Before pouring your milk into glass bottles, wash them with very hot, soapy water or run them through a high-heat dishwasher cycle. Minimizing initial bacteria counts extends freshness.
Chill Instantly: Do not leave the finished milk sitting on the counter. The faster it goes into the refrigerator, the longer it will stay fresh.
Keep it Cold: Avoid storing the milk in the refrigerator door shelves. The temperature in the door fluctuates every time you open the fridge, which accelerates spoilage. Store it on an interior shelf.
Zero-Waste Kitchen Hacks: Utilizing Leftover Almond Pulp
After straining your milk, you will be left with roughly $\frac{1}{2}$ to $\frac{3}{4}$ cup of damp almond pulp. Do not throw this away; it represents a significant portion of the almond’s fiber and protein.
Here are three ways to repurpose it:
1. Make Homemade Almond Flour (Meal)
Spread the damp pulp evenly across a baking sheet lined with parchment paper. Break up any large clumps. Place it in an oven set to its lowest possible temperature, ideally around 150°F to 200°F (65°C to 93°C), for 2 to 4 hours. Stir occasionally.
Once the pulp is completely dry and crisp to the touch, let it cool completely, then run it through a clean blender or food processor until it reaches a fine, powdery consistency. Store this in the freezer for use in gluten-free baking.
2. Boost Smoothies and Oatmeal
You can store the damp pulp in a sealed container in the refrigerator for up to 3 days (or freeze it). Toss a tablespoon or two directly into your morning smoothies, oatmeal, or porridge to add instant fiber, healthy fats, and texture.
3. Bake Pulp Crackers
Mix the damp pulp with a tablespoon of olive oil, your favorite dried herbs (like rosemary or thyme), a pinch of salt, and a spoonful of flaxseeds. Roll the mixture out thinly between two sheets of parchment paper, score it into squares with a knife, and bake at 350°F (177°C) for 20 to 25 minutes until golden brown and crisp.
Summary Checklist: Almond Milk How-To
To ensure success every time you practice how to prepare almond milk, keep this brief technical summary in mind:
- Source: Use 100% raw, unroasted almonds.
- Soak: Maintain an 8 to 12-hour soaking window to break down phytic acid and soften the nut structure.
- Ratio: Stick to 1 cup of nuts per 4 cups of filtered water for general use.
- Strain: Use a fine mesh nut milk bag rather than loose cheesecloth to prevent a gritty texture.
- Store: Keep the finished product in a sterilized glass jar at the back of the refrigerator for no more than 5 days.
Step 1: Soak 8-12 Hours
How to Make Almond Milk
Print This
Ingredients
Instructions
Step 2: Rinse Thoroughly
Step 3: Blend with Fresh Water
Step 4: Strain via Nut Milk Bag
Step 5: Bottle & Chill